I think I am the only knitter that Neil from Moondarra Wines knows. Or maybe he knows more about my skills than I do?
This July I received a heartfelt plea to repair some knitwear from Neil. He even suggested using the ‘obvious repair’ method as favoured by Japanese, Kintsugi process where ceramics are repaired using gold to make a feature of the repair. His sister had spun the yarn and knitted him a jumper. A jumper that Neil obviously loved so much, he had worn it to death!
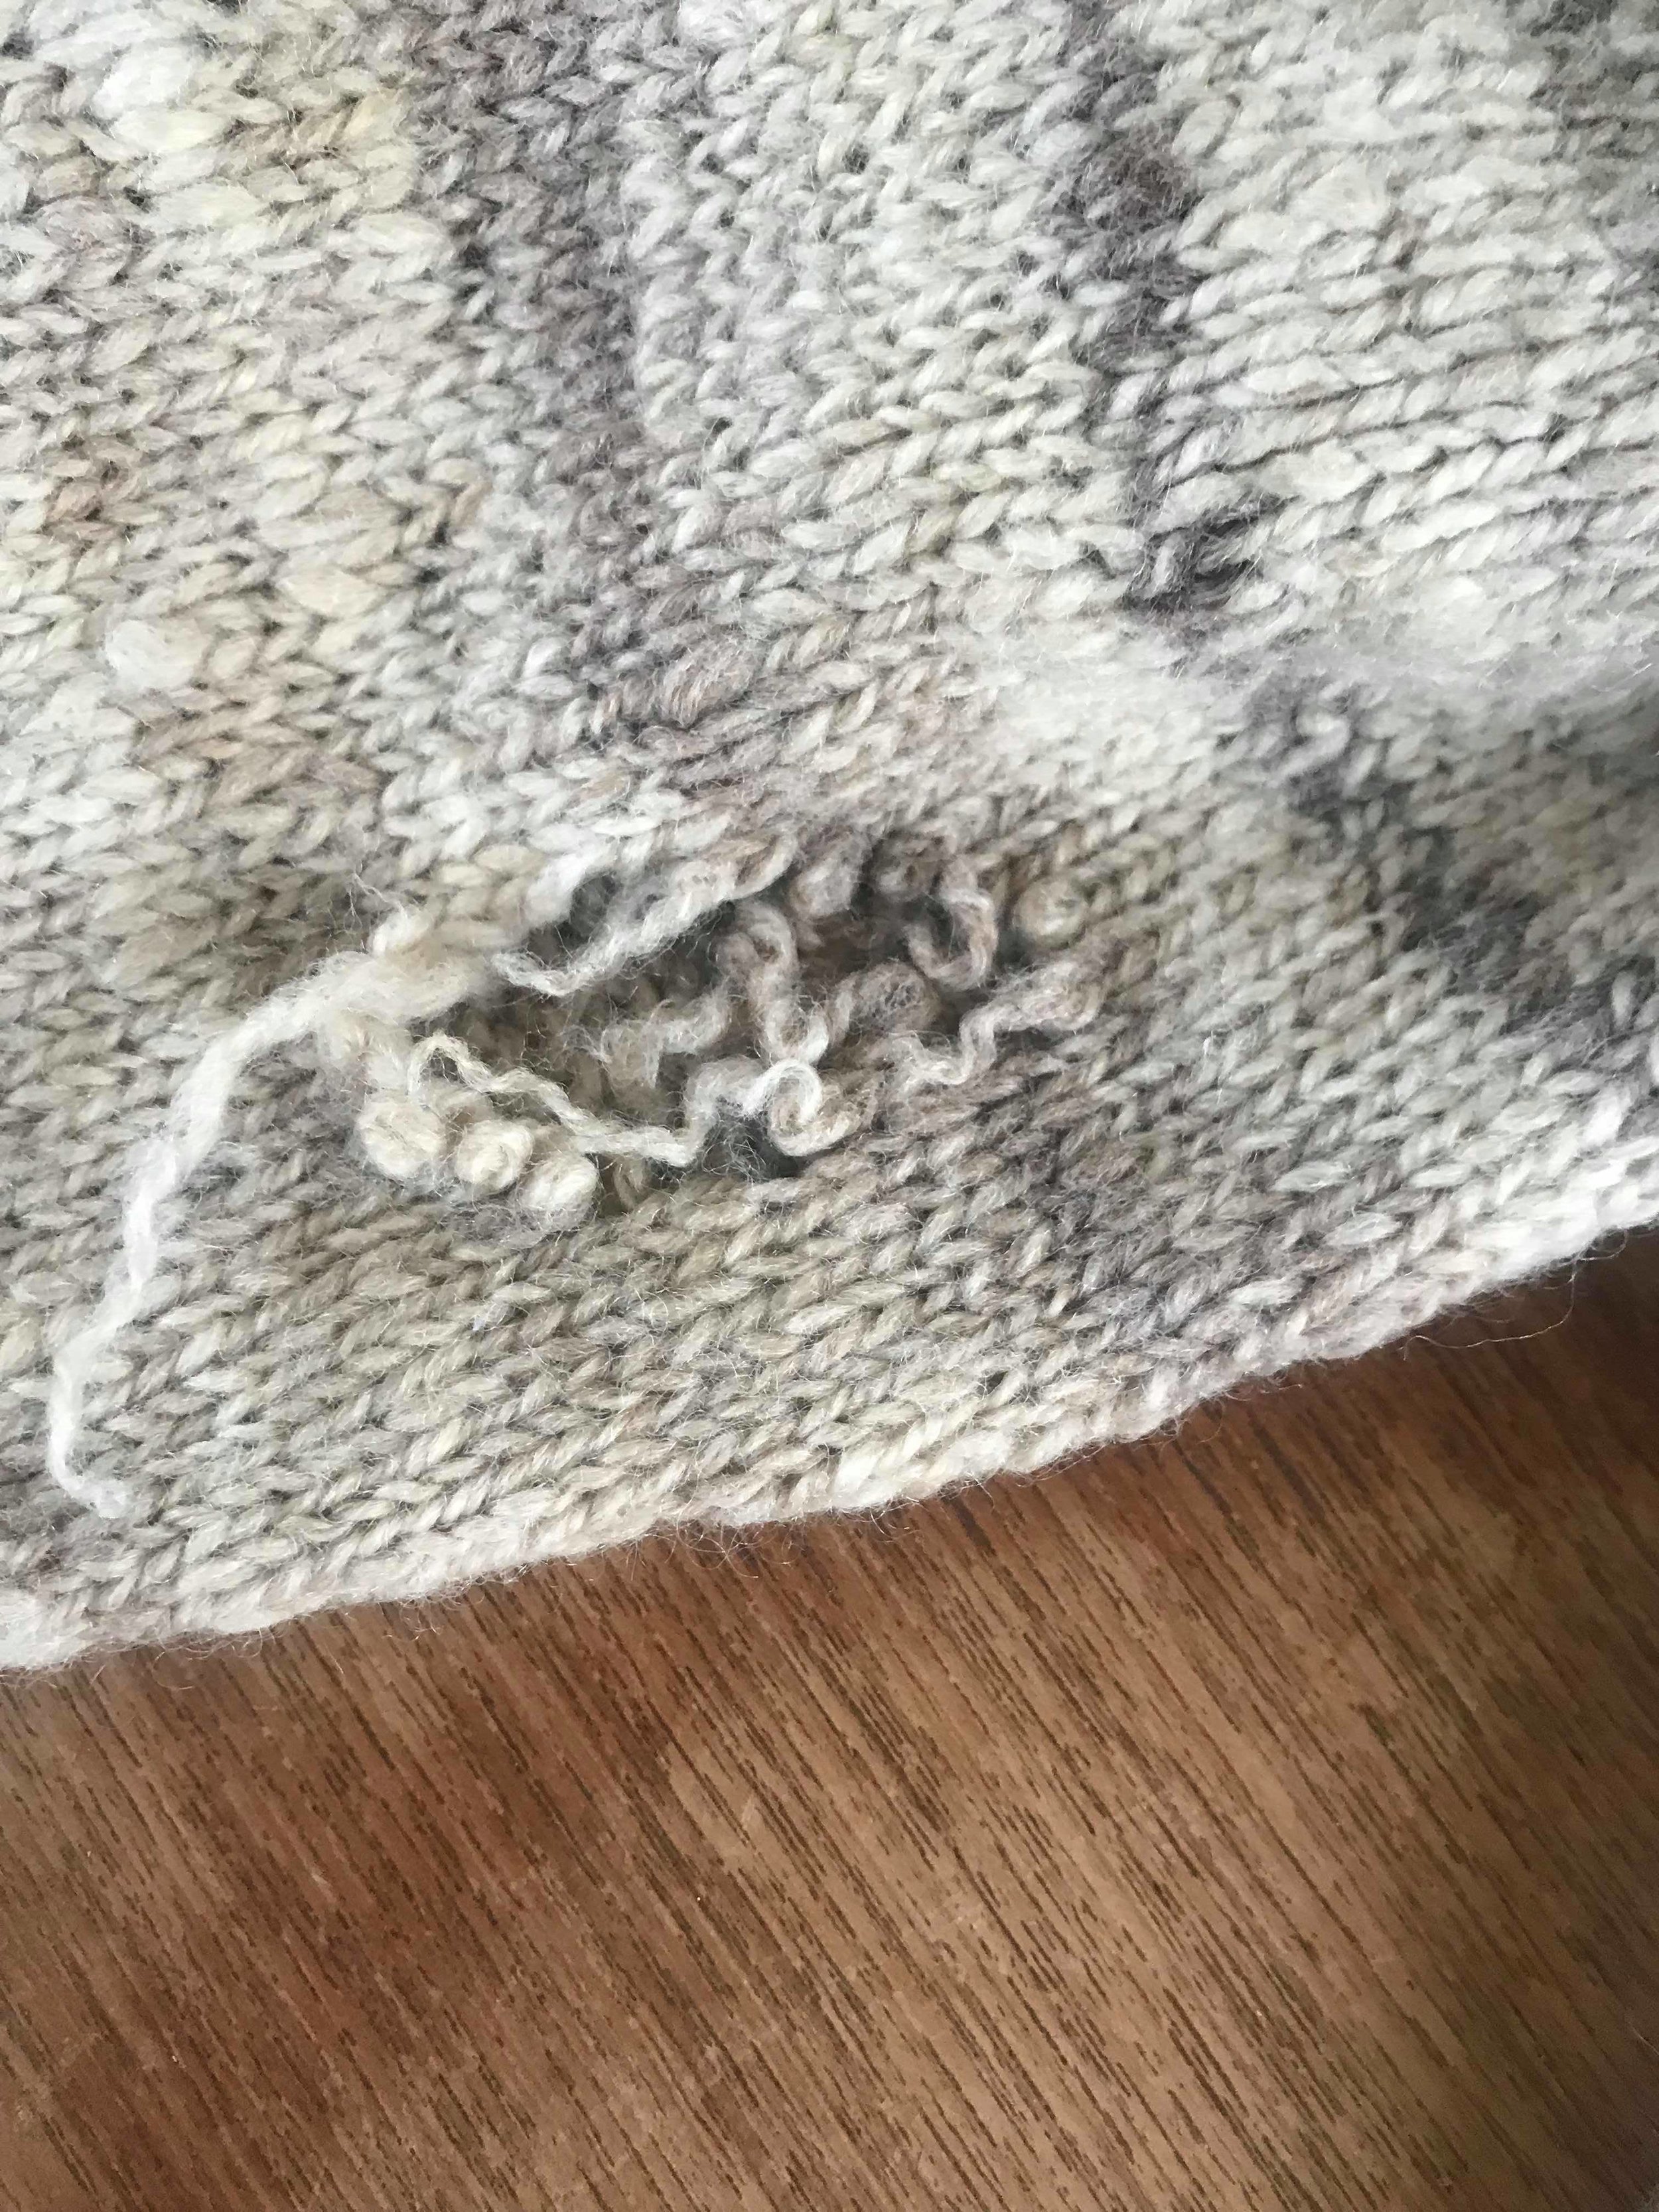
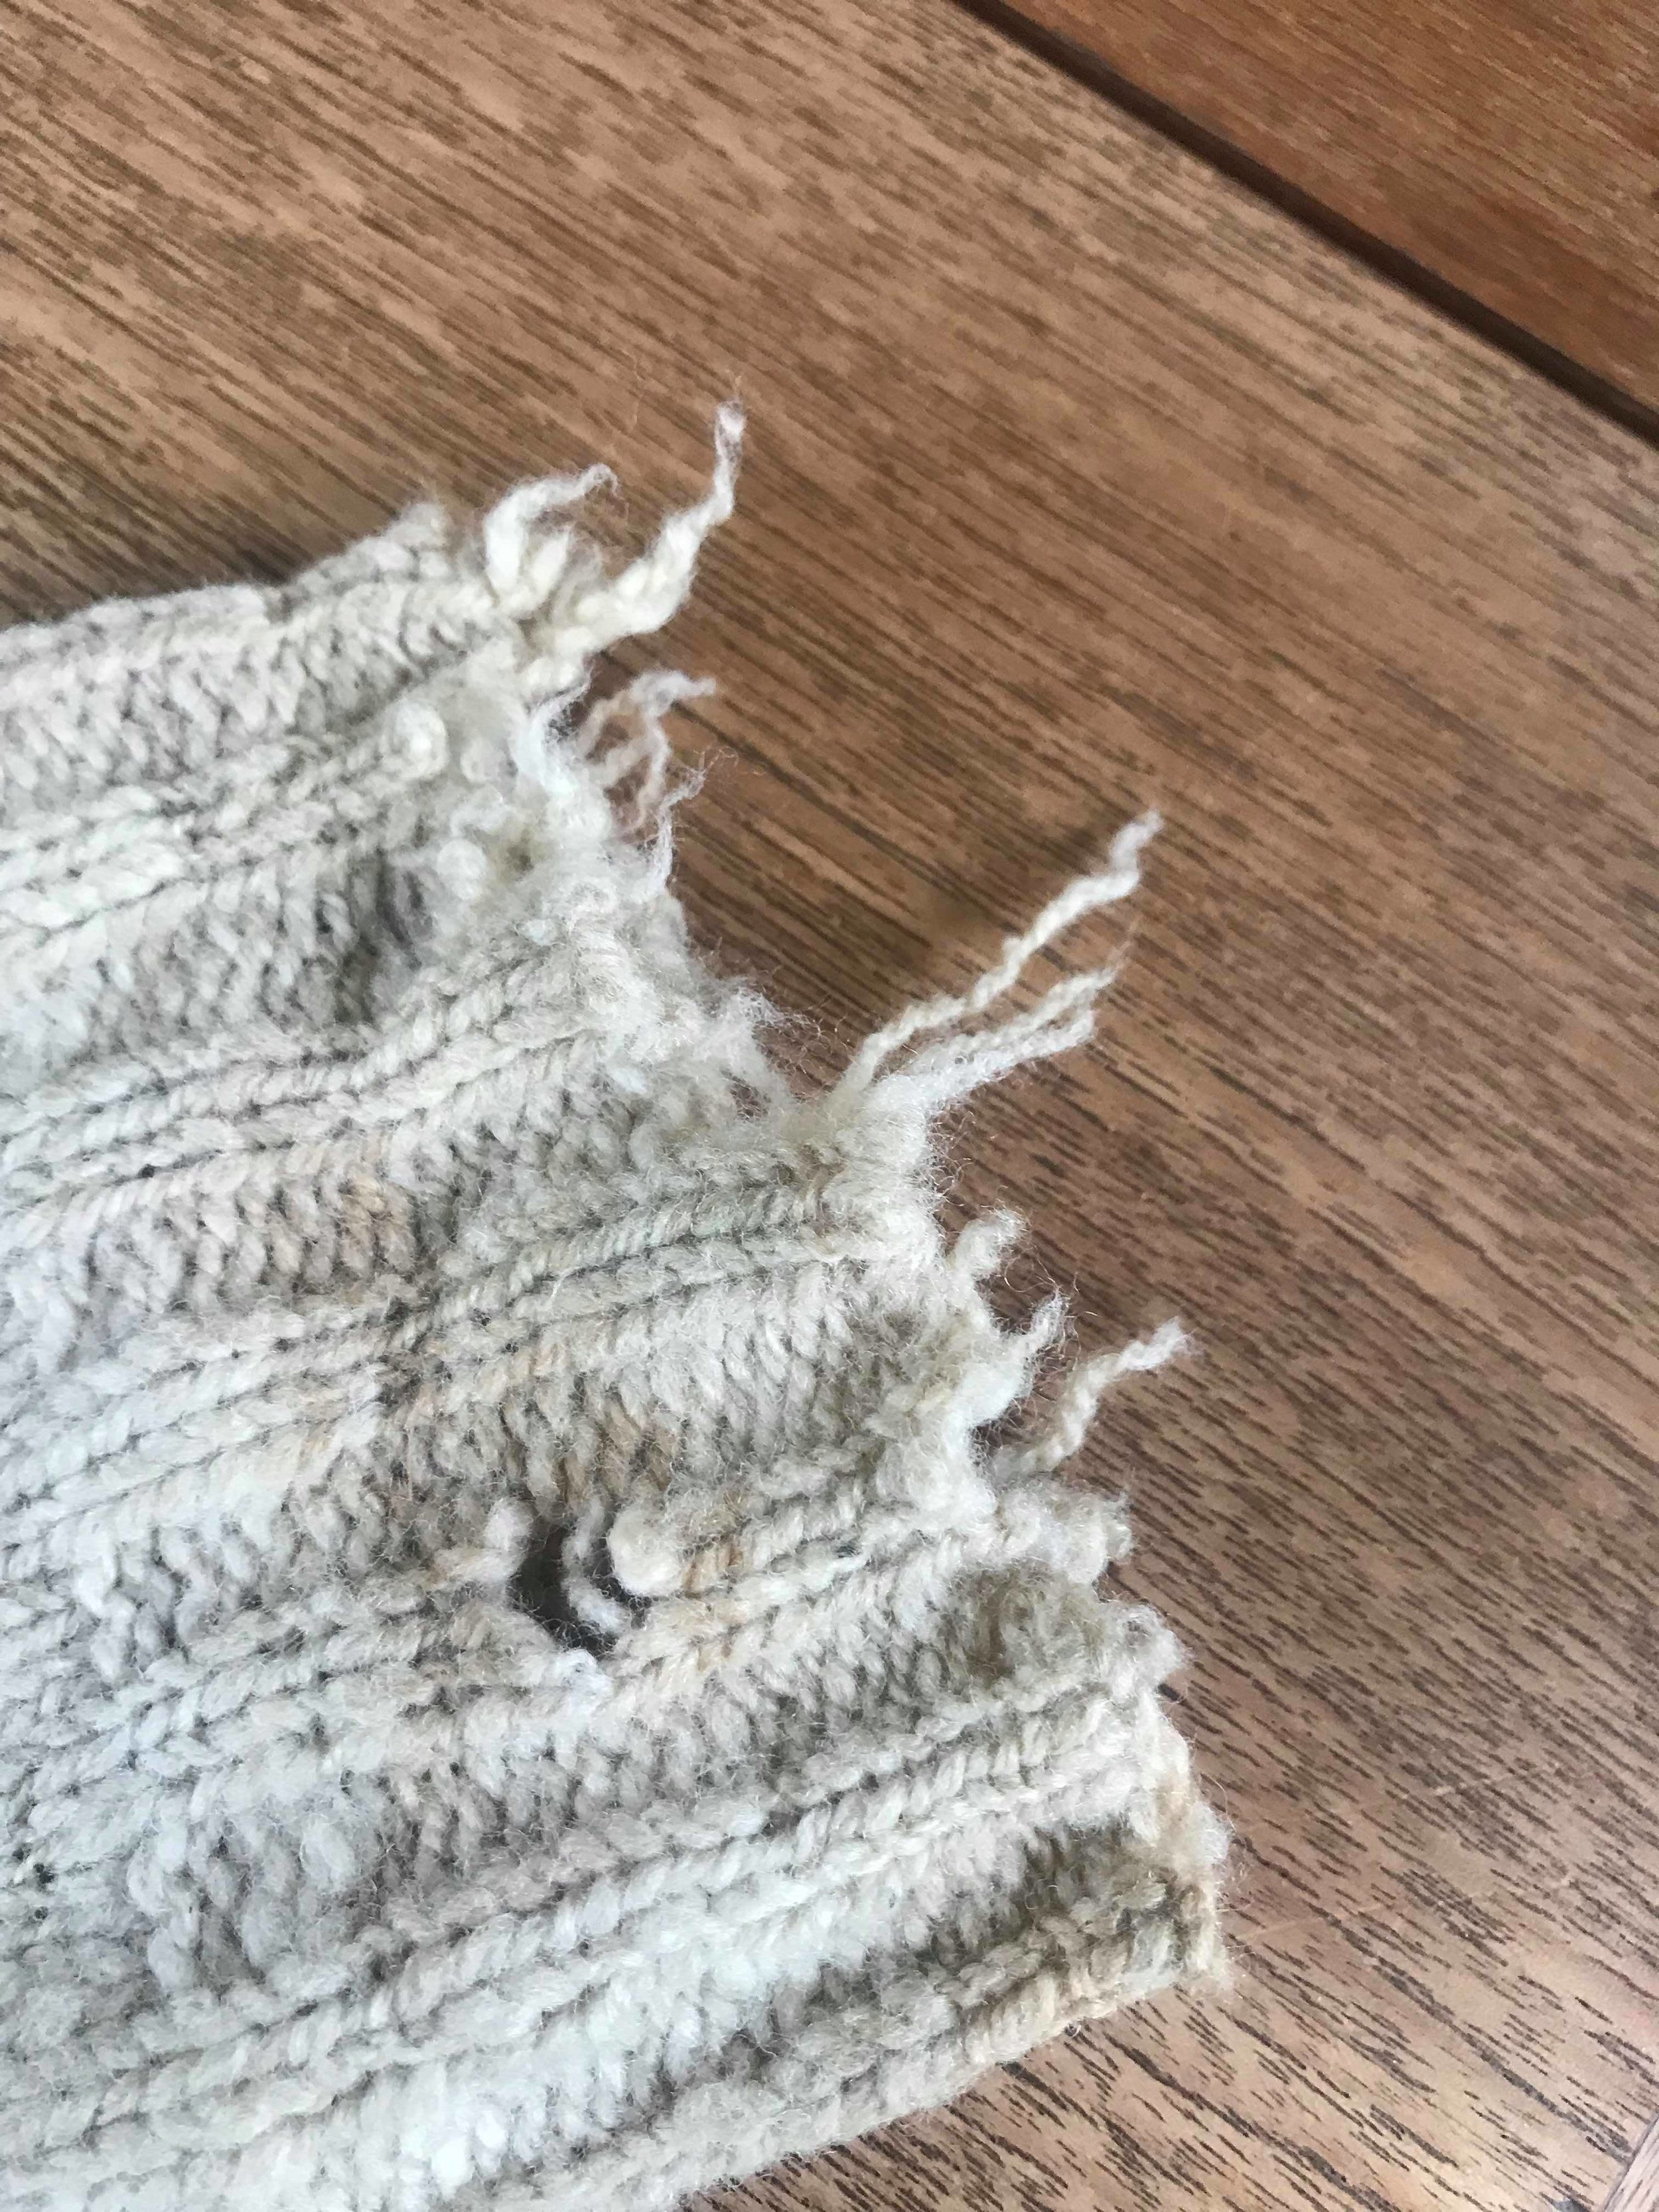

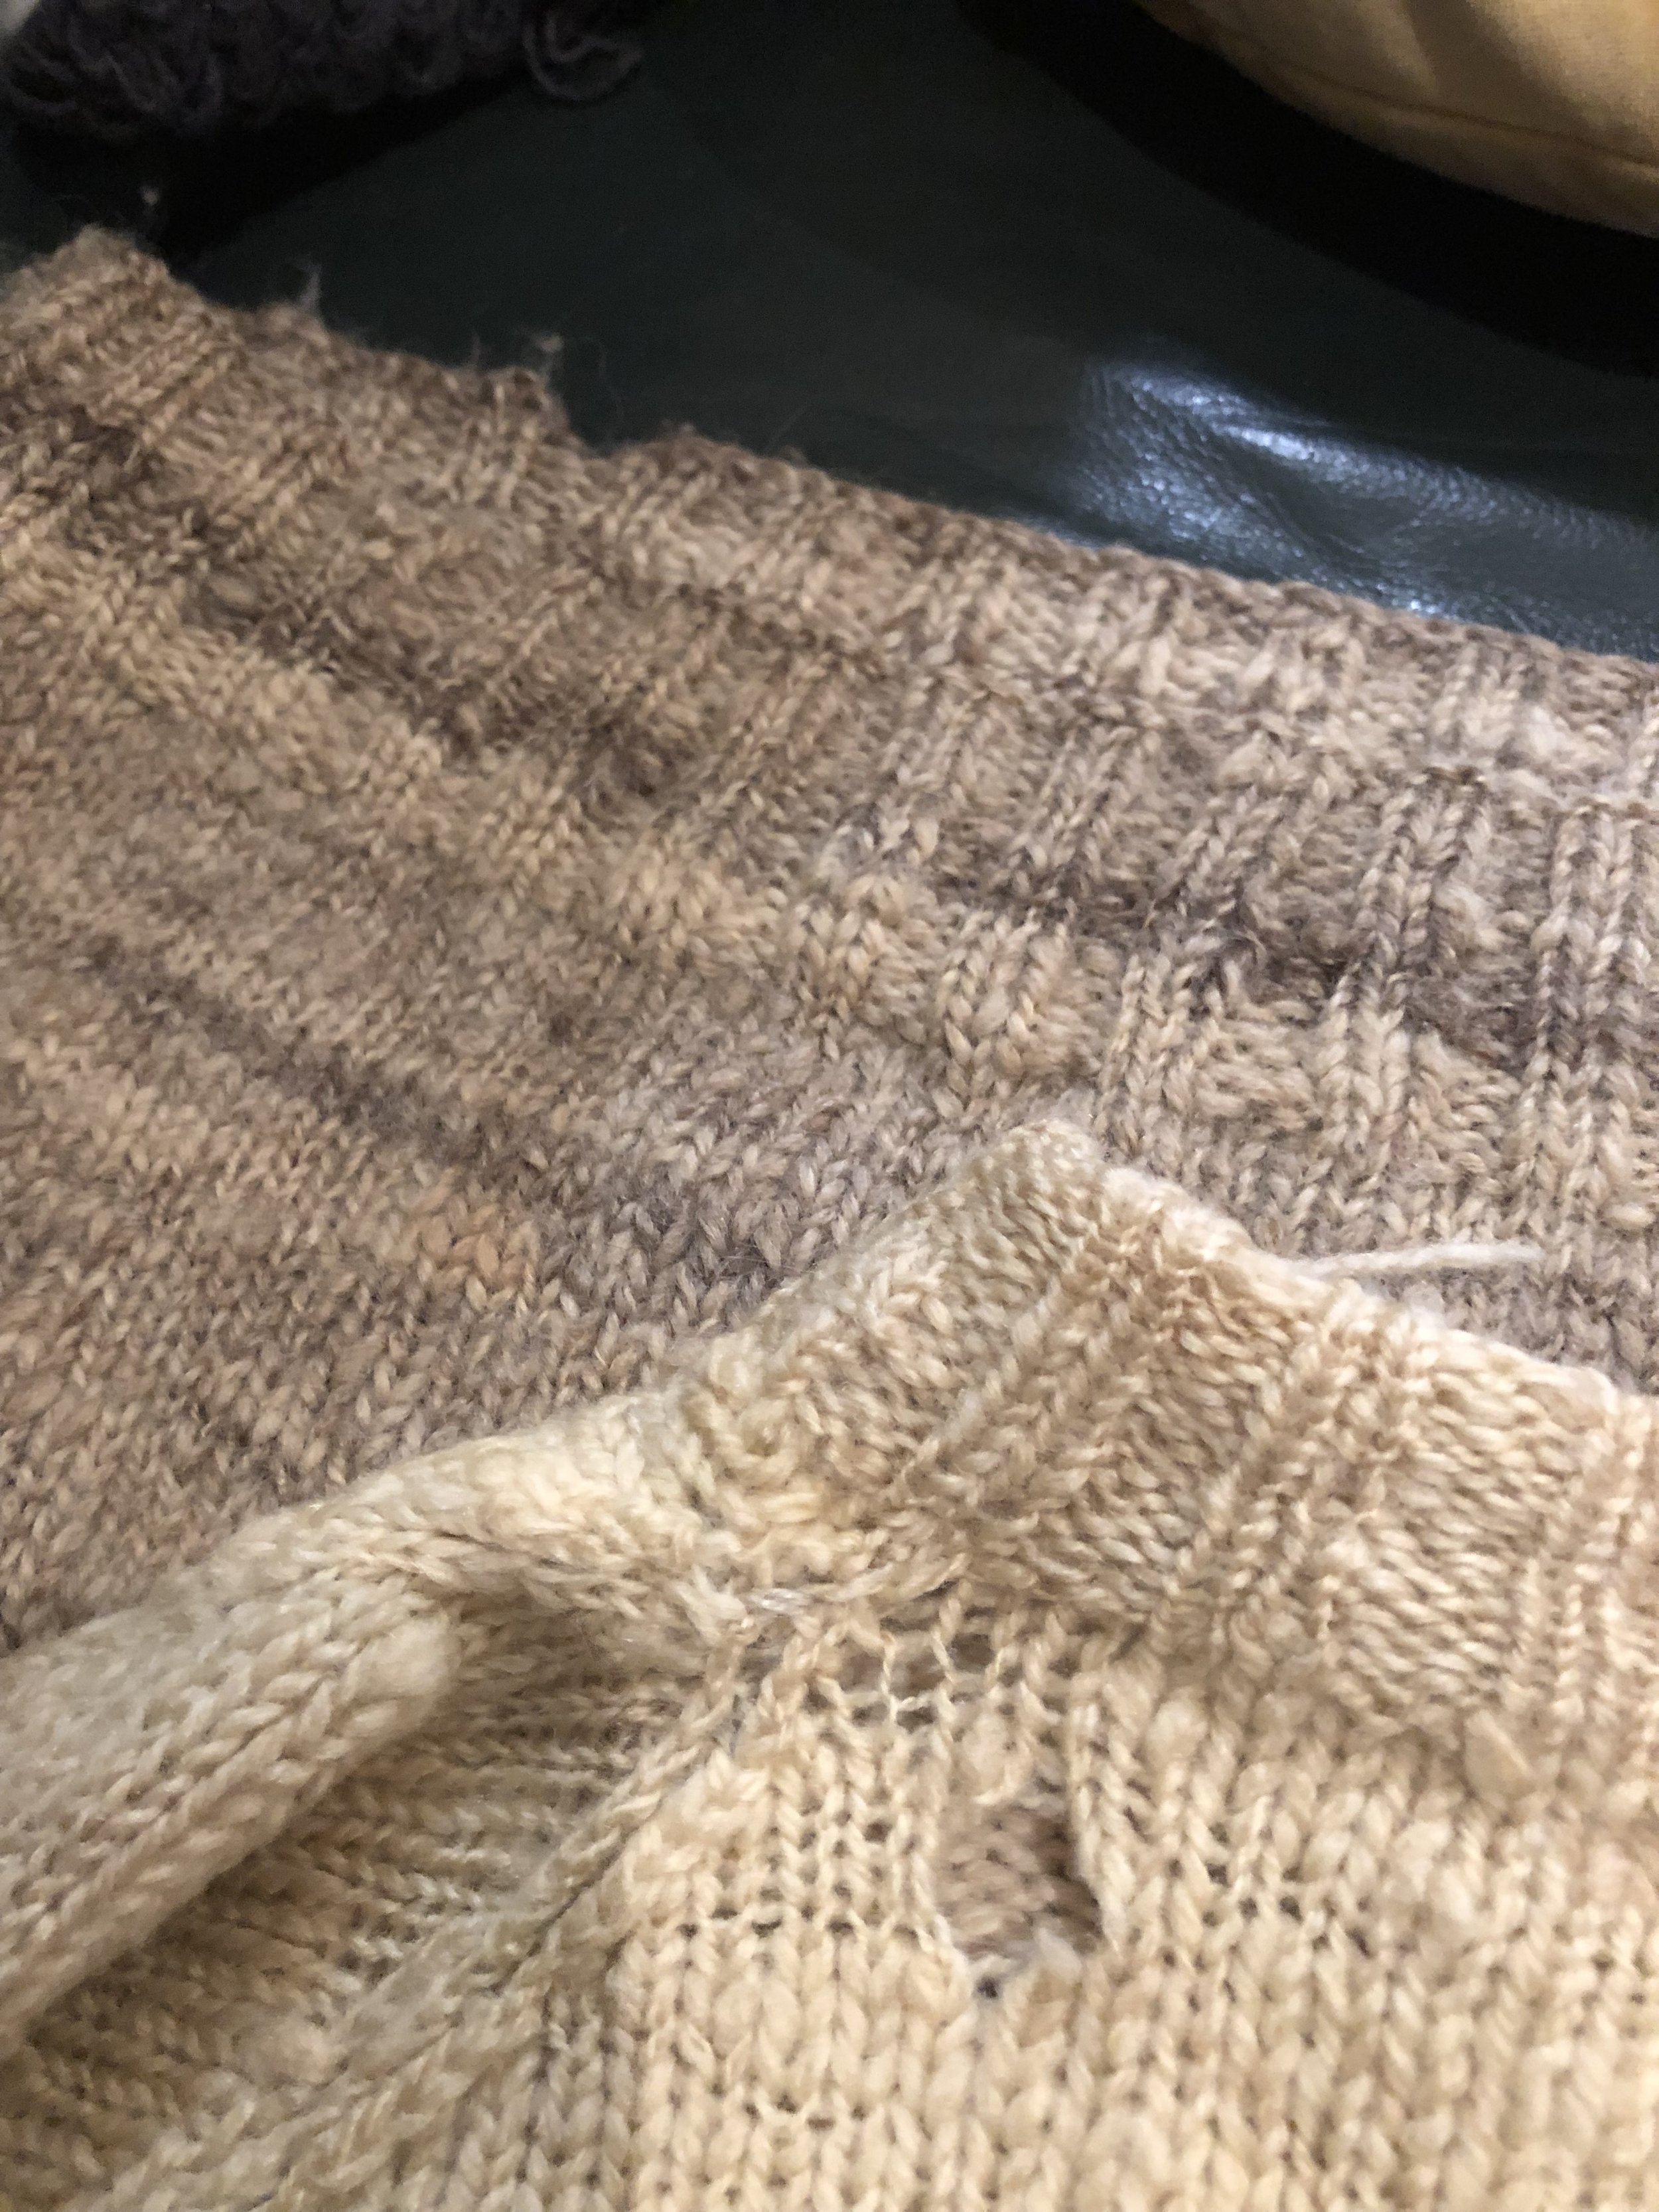
The cuffs were frayed, there were holes everywhere and signs of more holes to come…
Initially I was reluctant to help, as it seemed like such a huge task.
I searched through my stash of yarns at home and thought… ok, maybe I can do this.
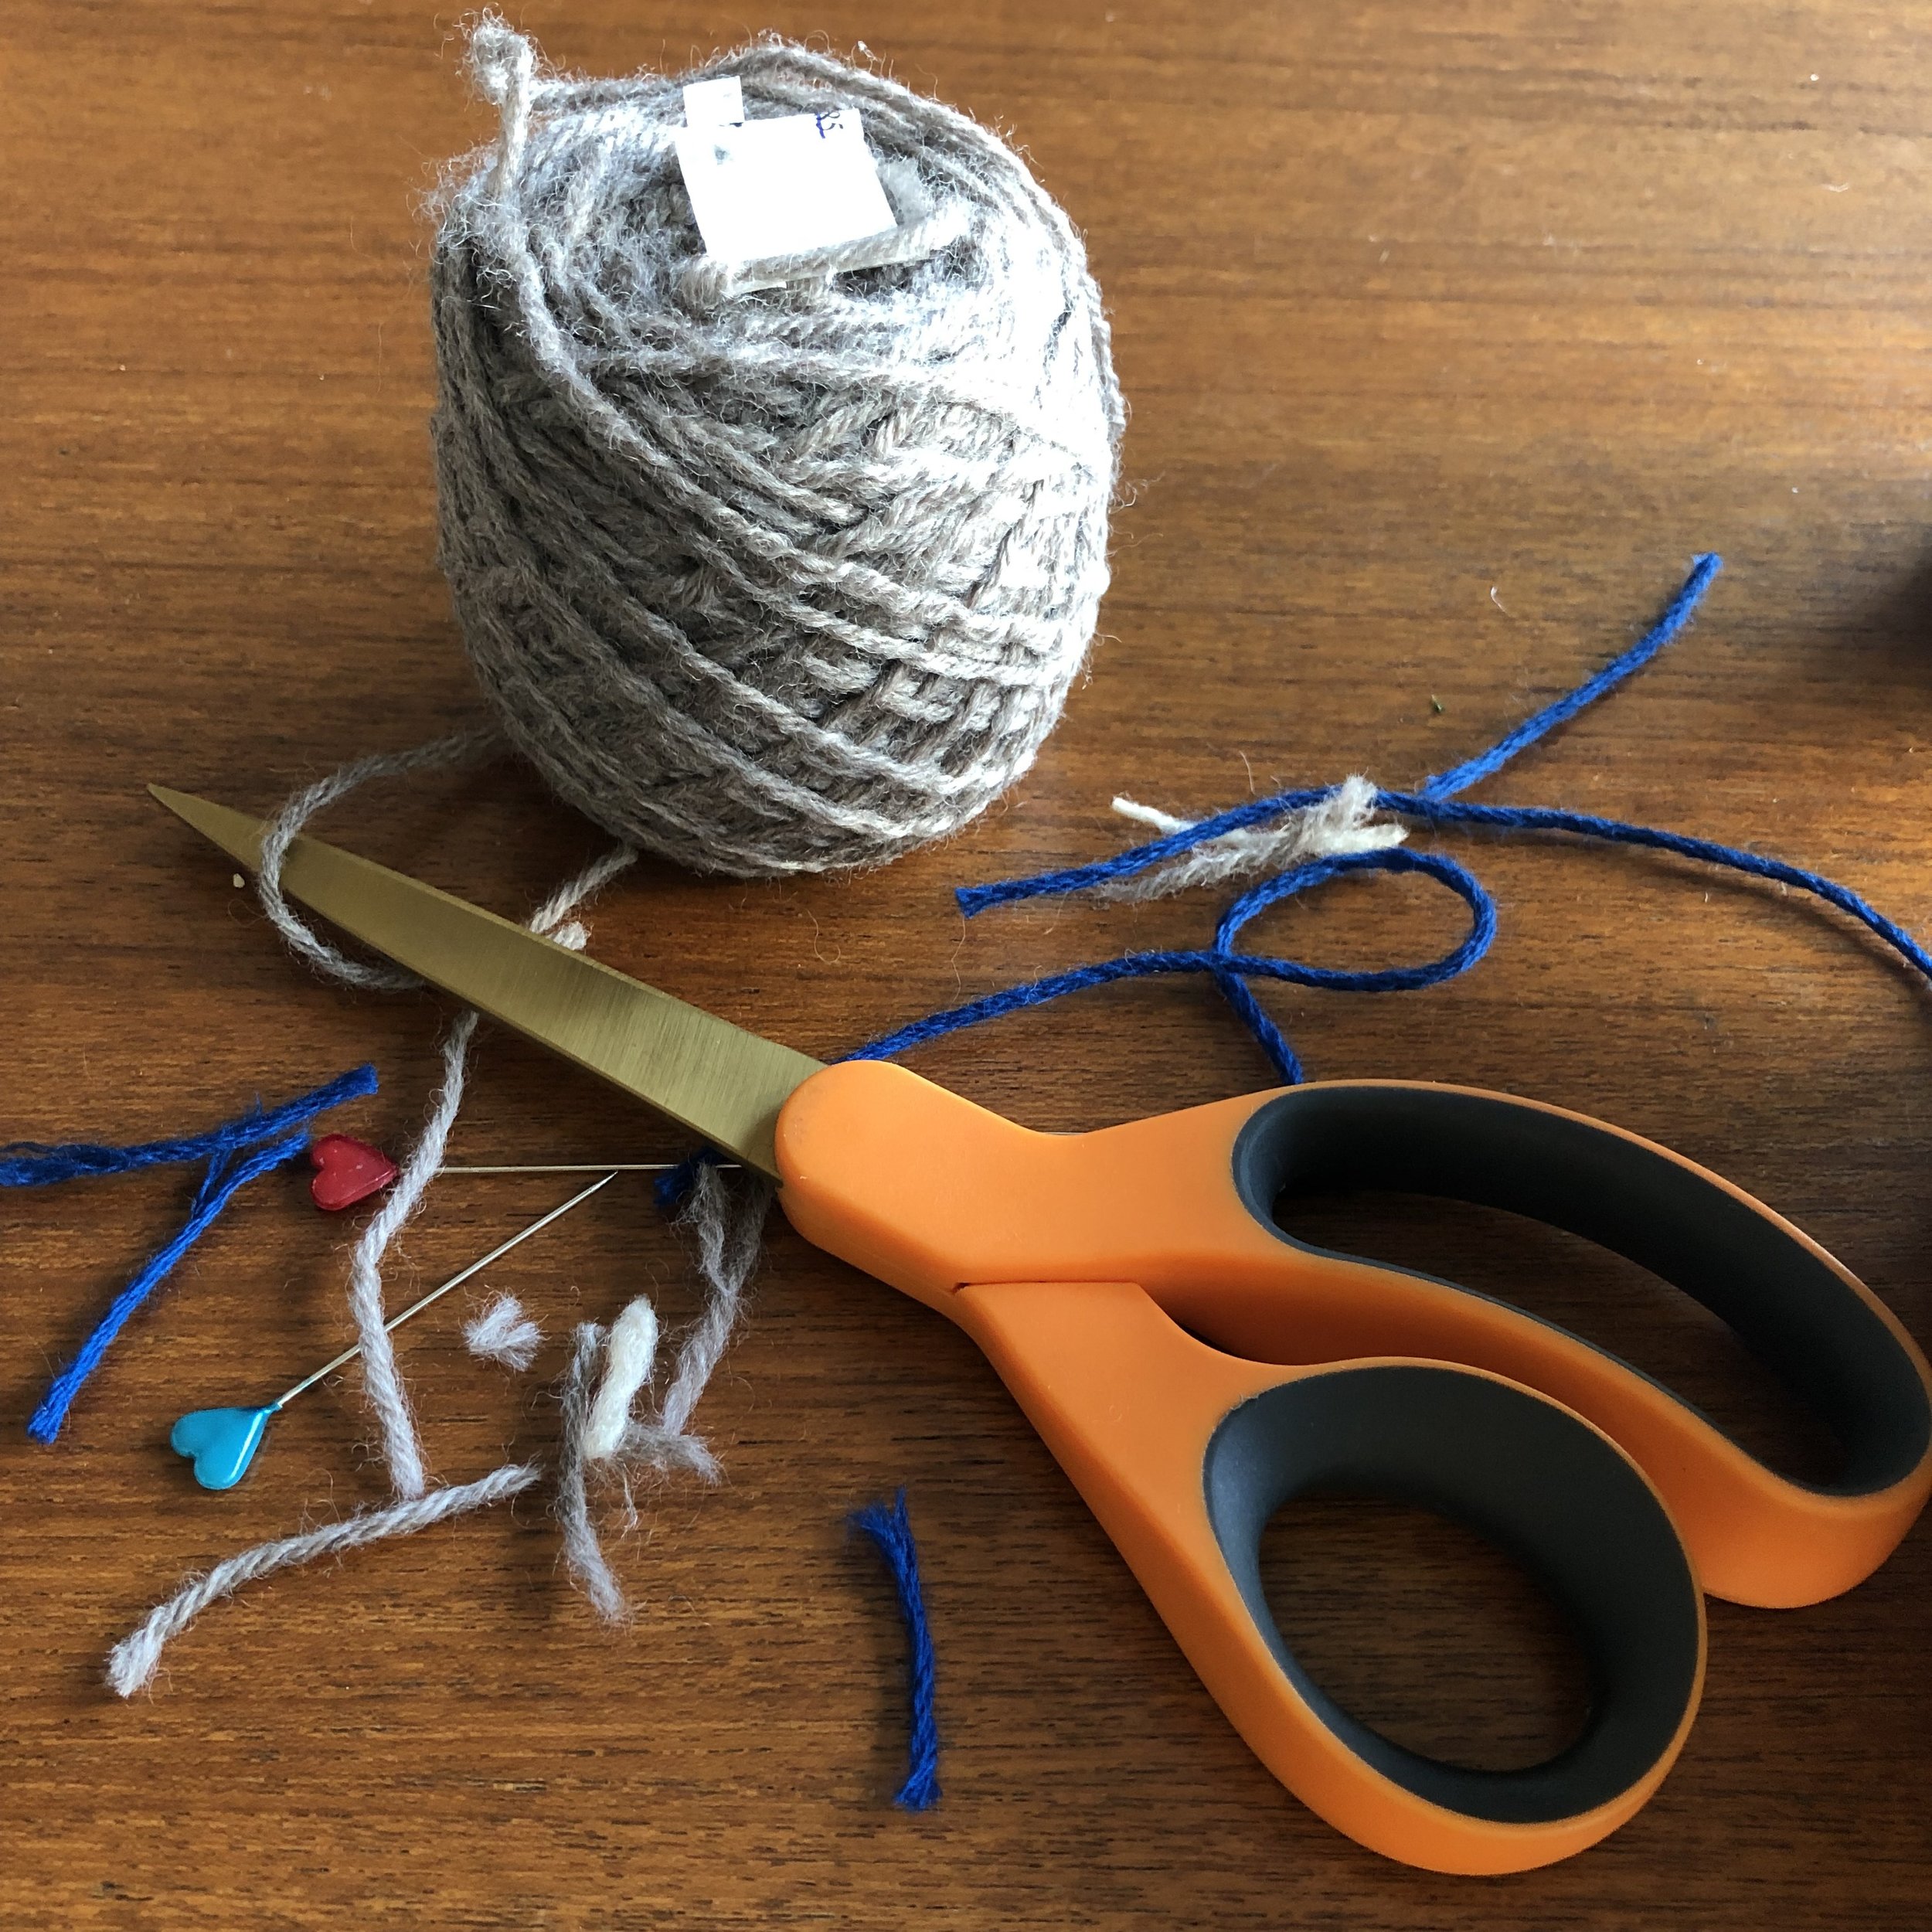
I found some beautiful Tarndie Polwarth yarn from Tarndwarncoort - not only is the yarn beautiful and soft, the providence is very interesting too..
Polwarth sheep were developed by Richard Dennis at Tarndwarncoort in 1880, by crossing Saxon Merino sheep from Tasmania with Victorian Lincoln sheep. This progeny was then joined back to the Merino and bred to a fixed type. These un-mulsed sheep were named Dennis Comebacks and later renamed Polwarth after the local electorate.
They are Australia’s first breed of sheep. (via Tarndie website)
Then to satisfy the Kintsugi requirement I found some gorgeous Teal/Deep blue Merino yarn. I bought this yarn from a local wool supplier who sources their merino yarns from Ballarat sheep farms.
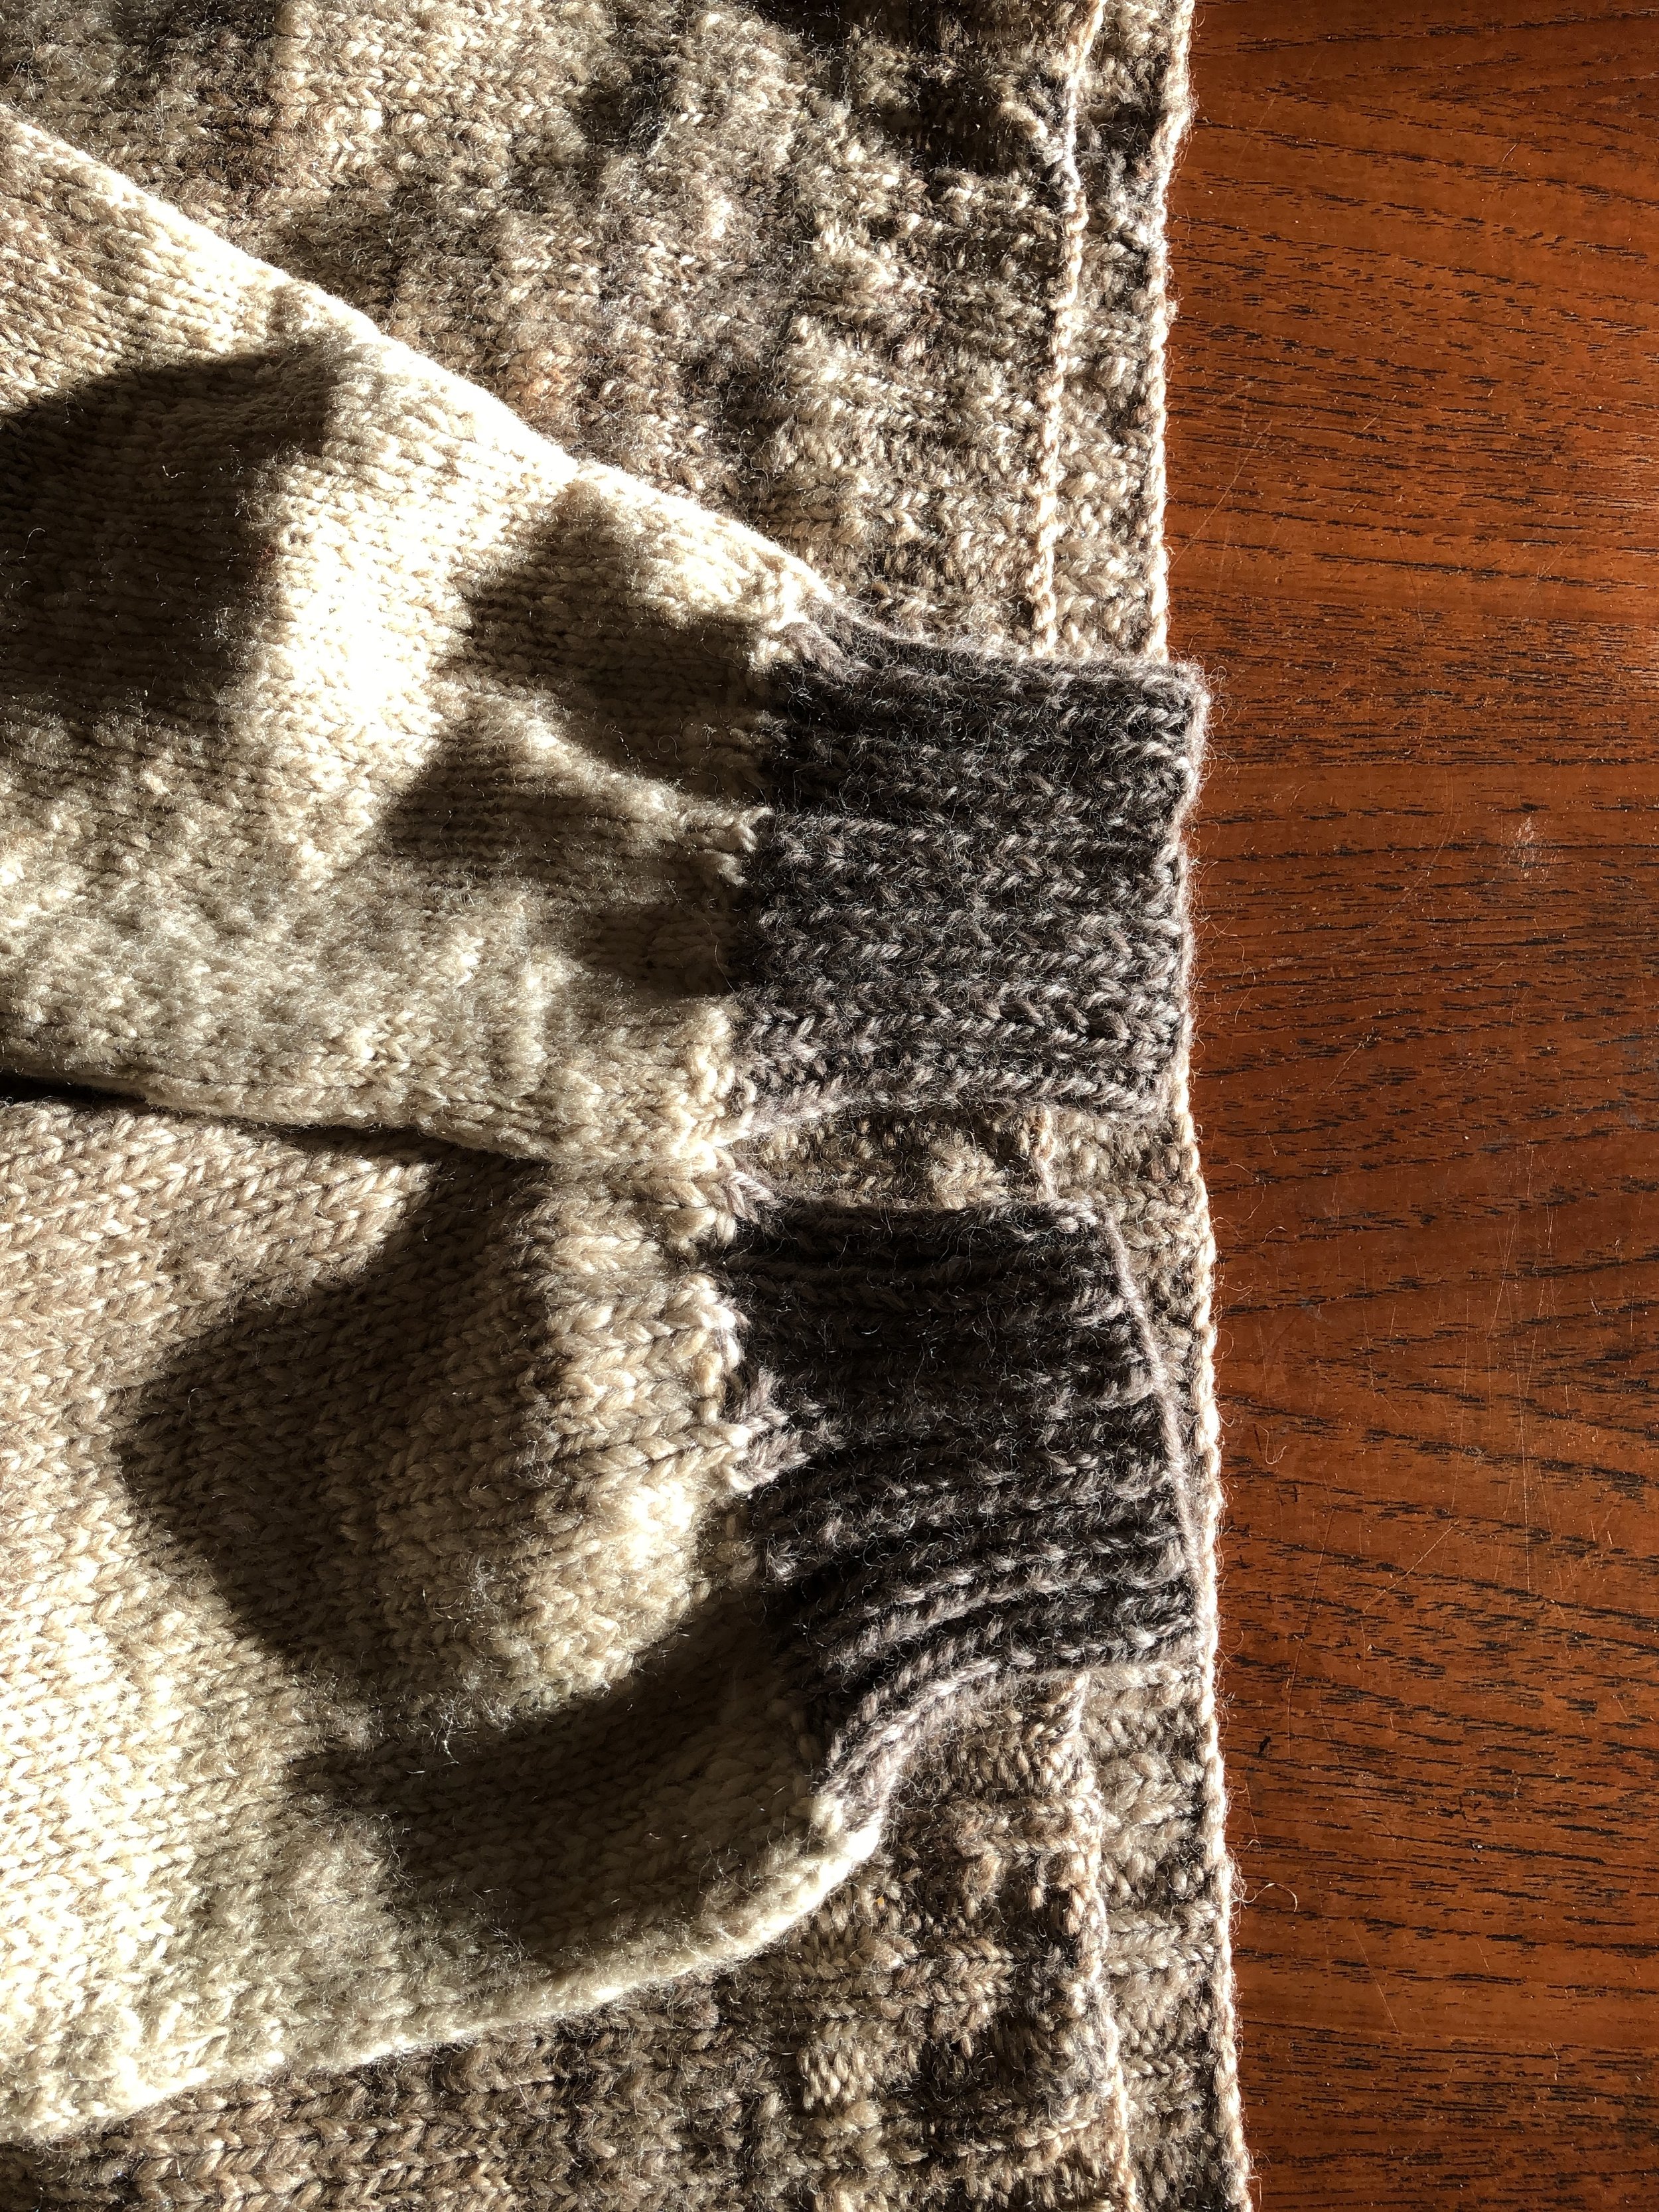
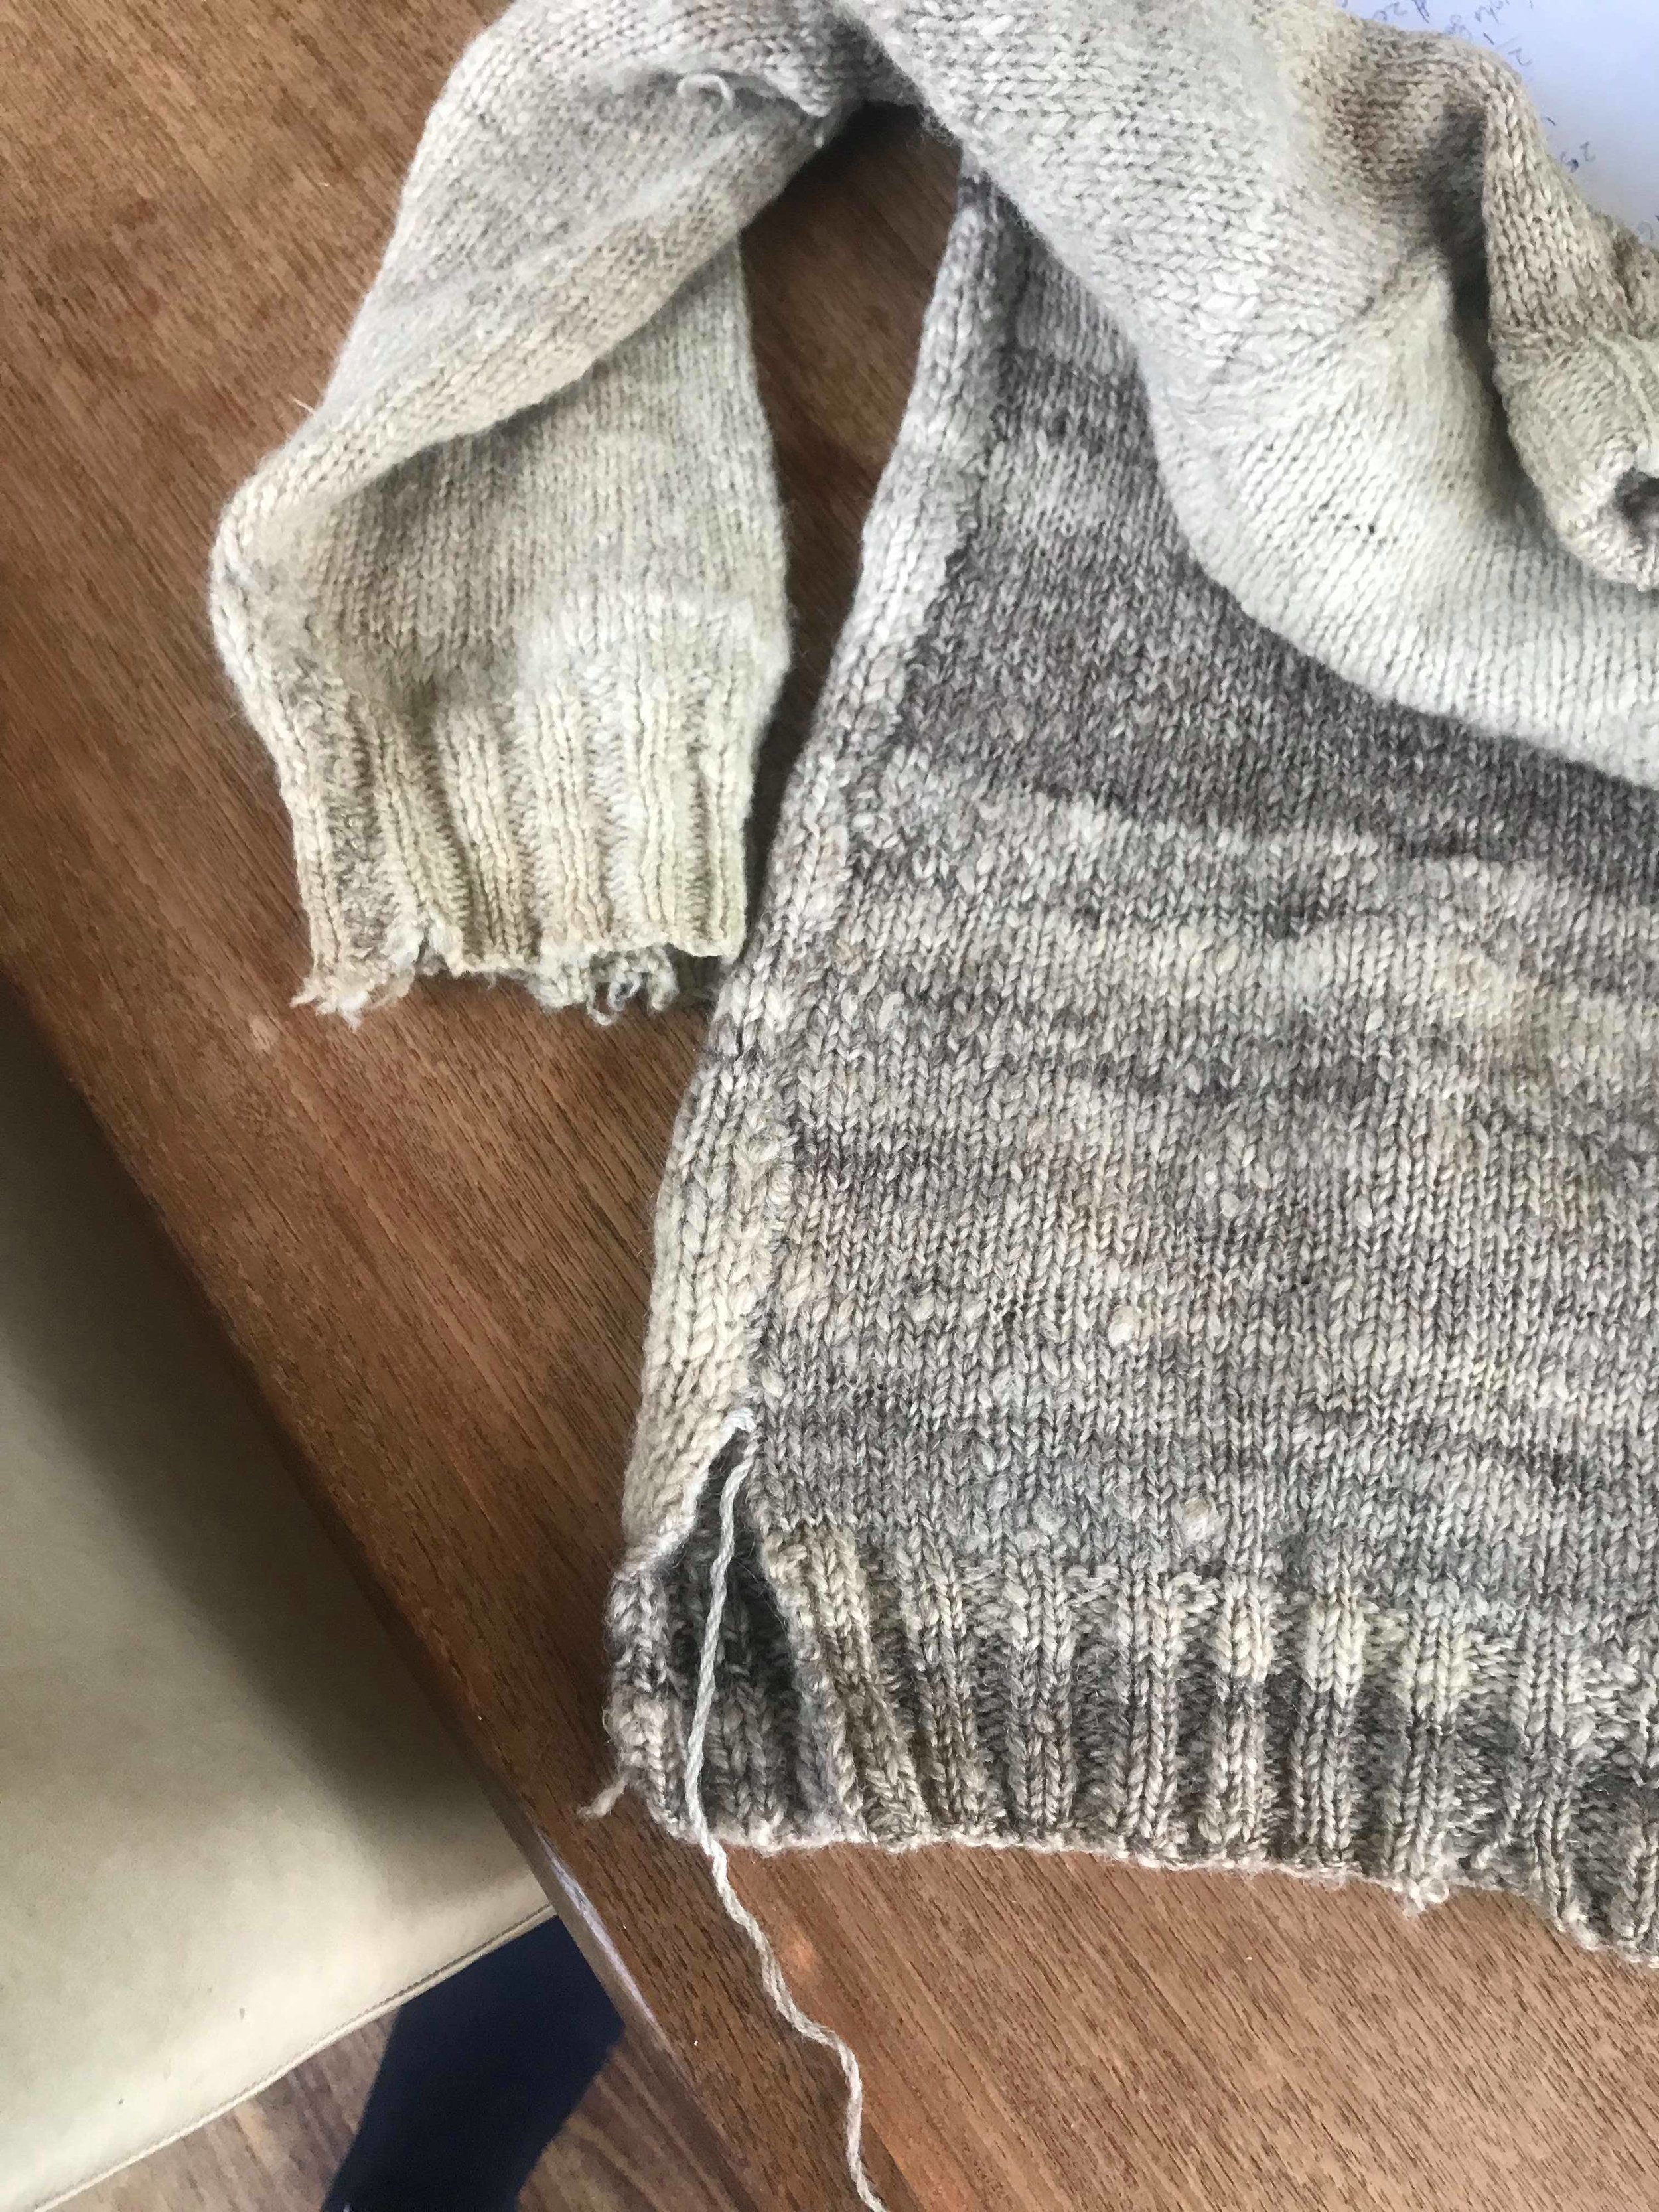
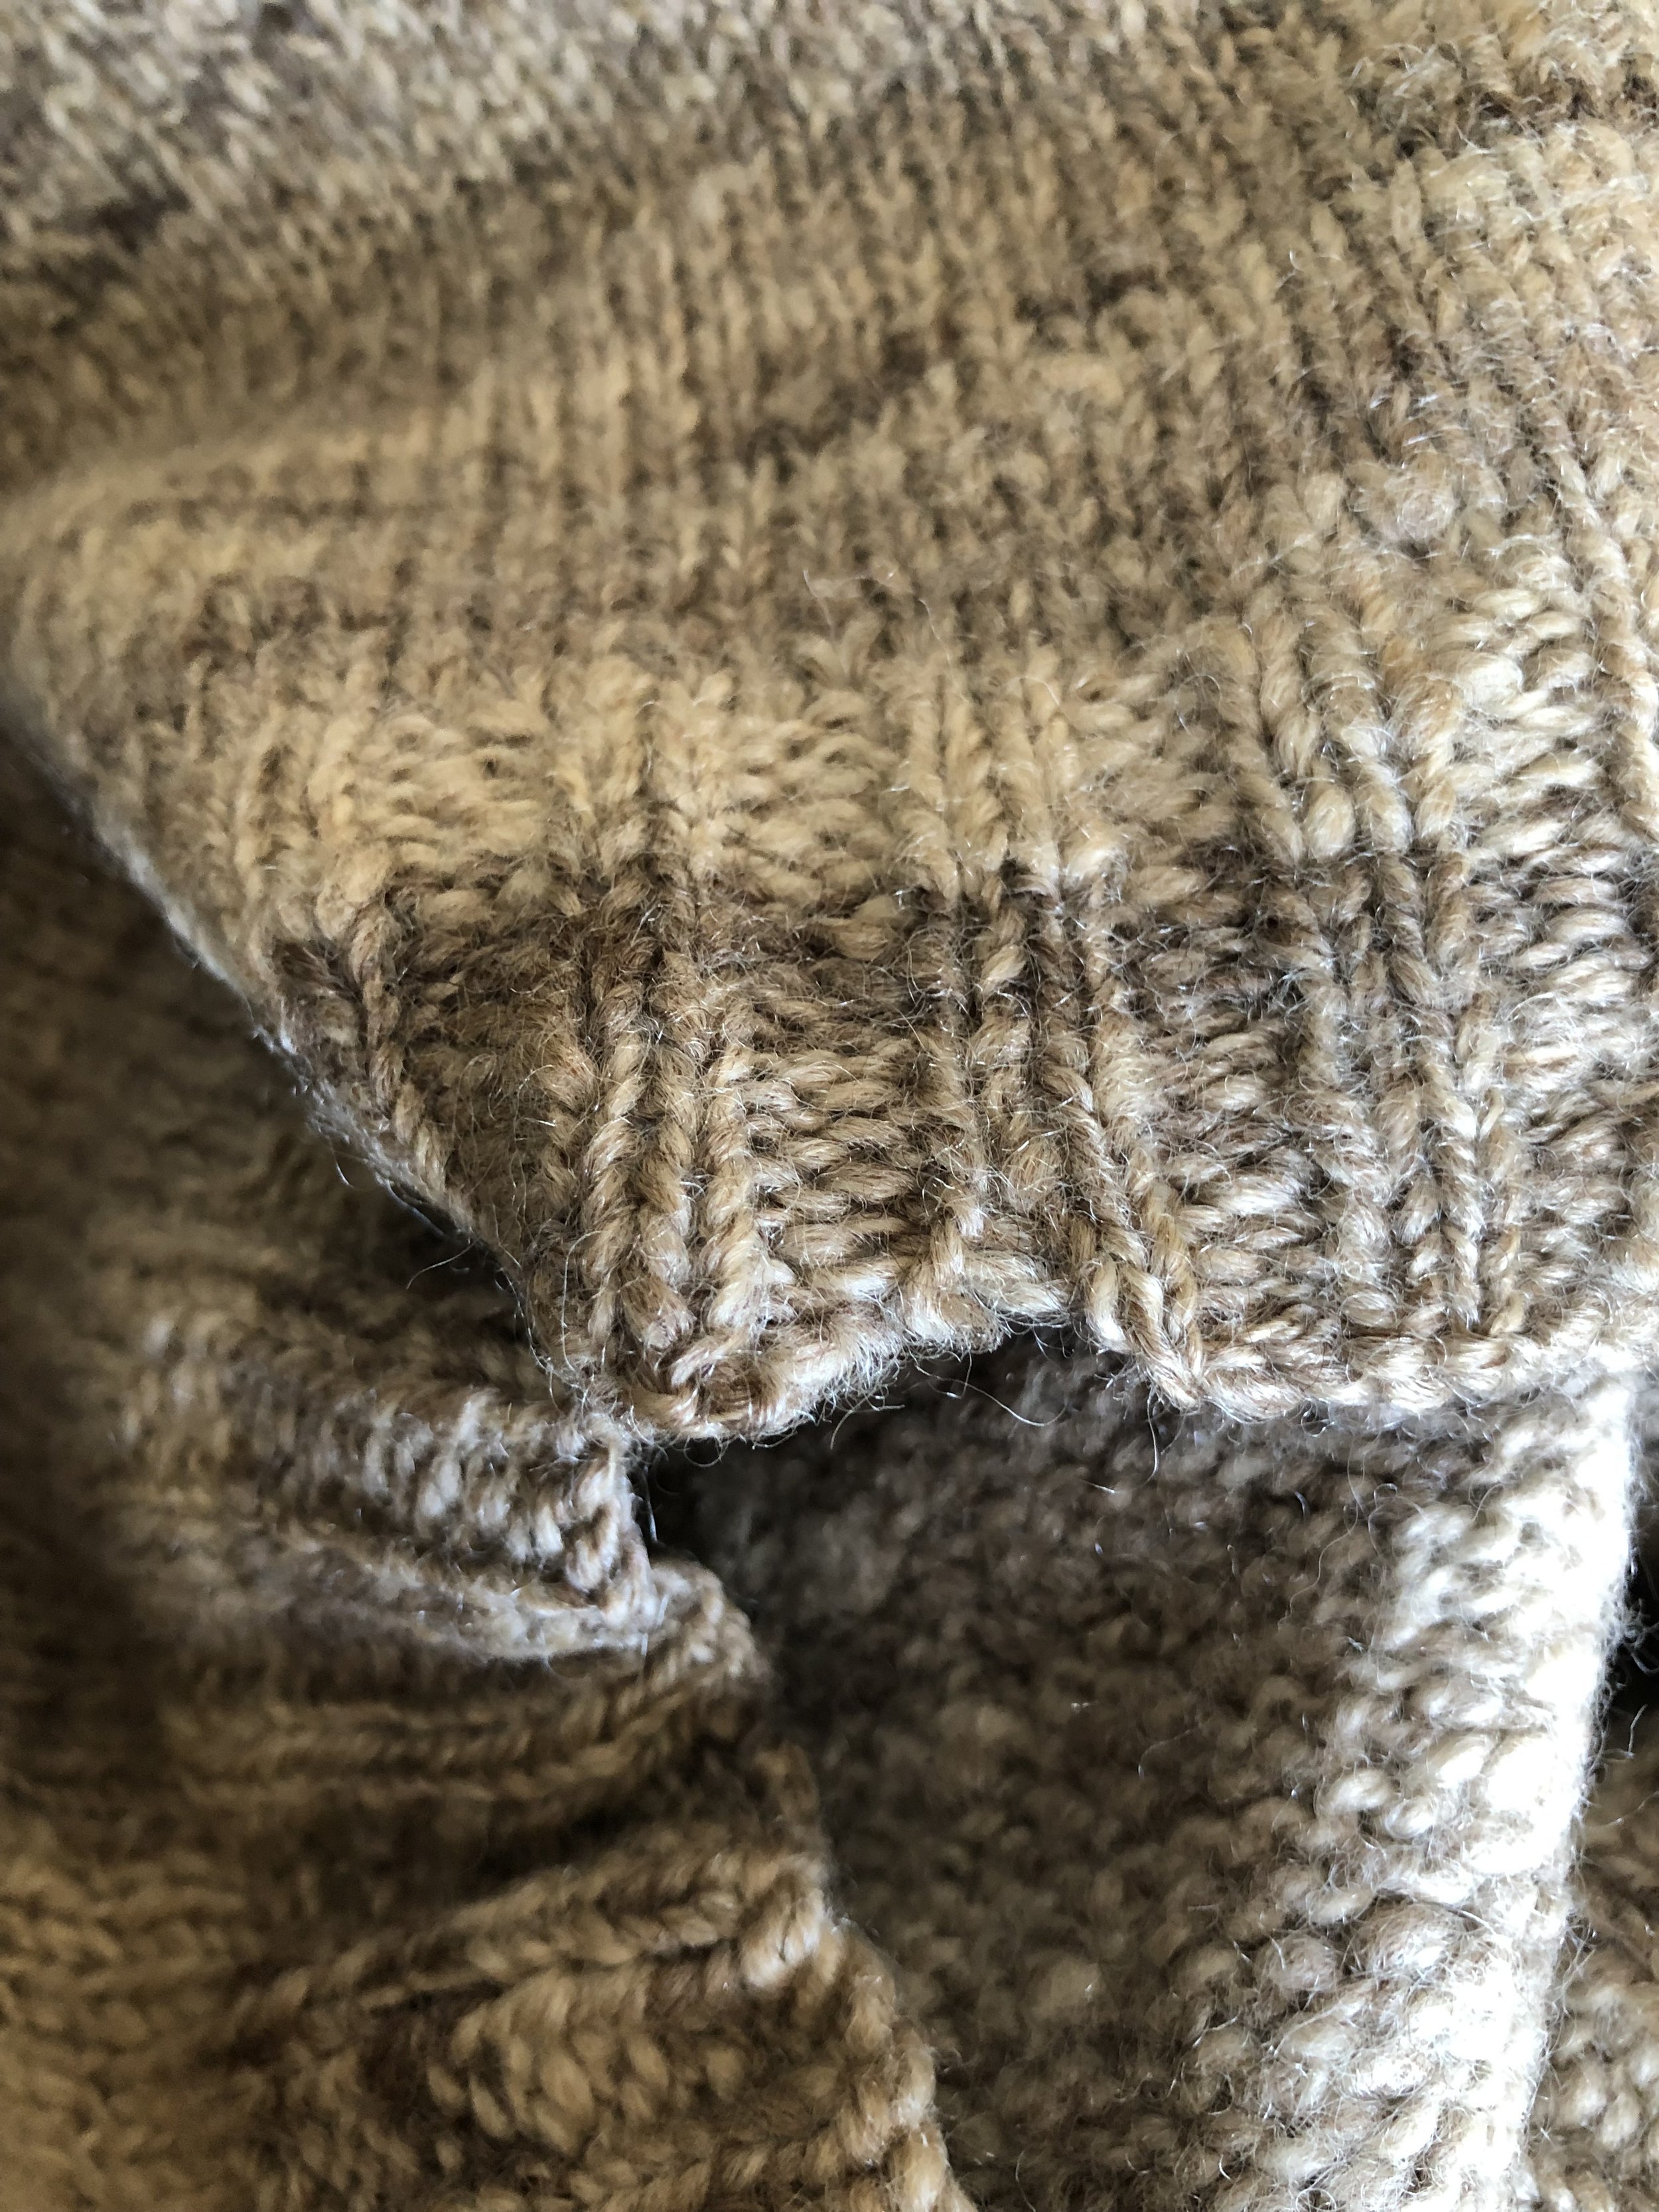
My first point of attack was the cuffs… they had to go!
I cut the first one off close to the sleeve and picked up the stitches till I eventually had them pulled back to the start of cuff. I then reknit the double rib cuffs - flat - using the soft grey/ brown Tarndie yarn.


Embolded with the success of this, I did the same with the other cuff! I was impressed with how good they looked, and also how soft the yarn was once knitted. When I sewed the cuffs back together I pretty much reseamed the sleeve up to the elbow. Hopefully reinforcing some very frail stitches on the inside arm.
Then I attempted to darn.
I’d never done this before but had watched a few videos and created a weft across the gaps, then wove through the yarn. It’s not super neat and pretty but the grey/brown of the Tarndie yarn, blends perfectly with the natural tones of the original yarn.
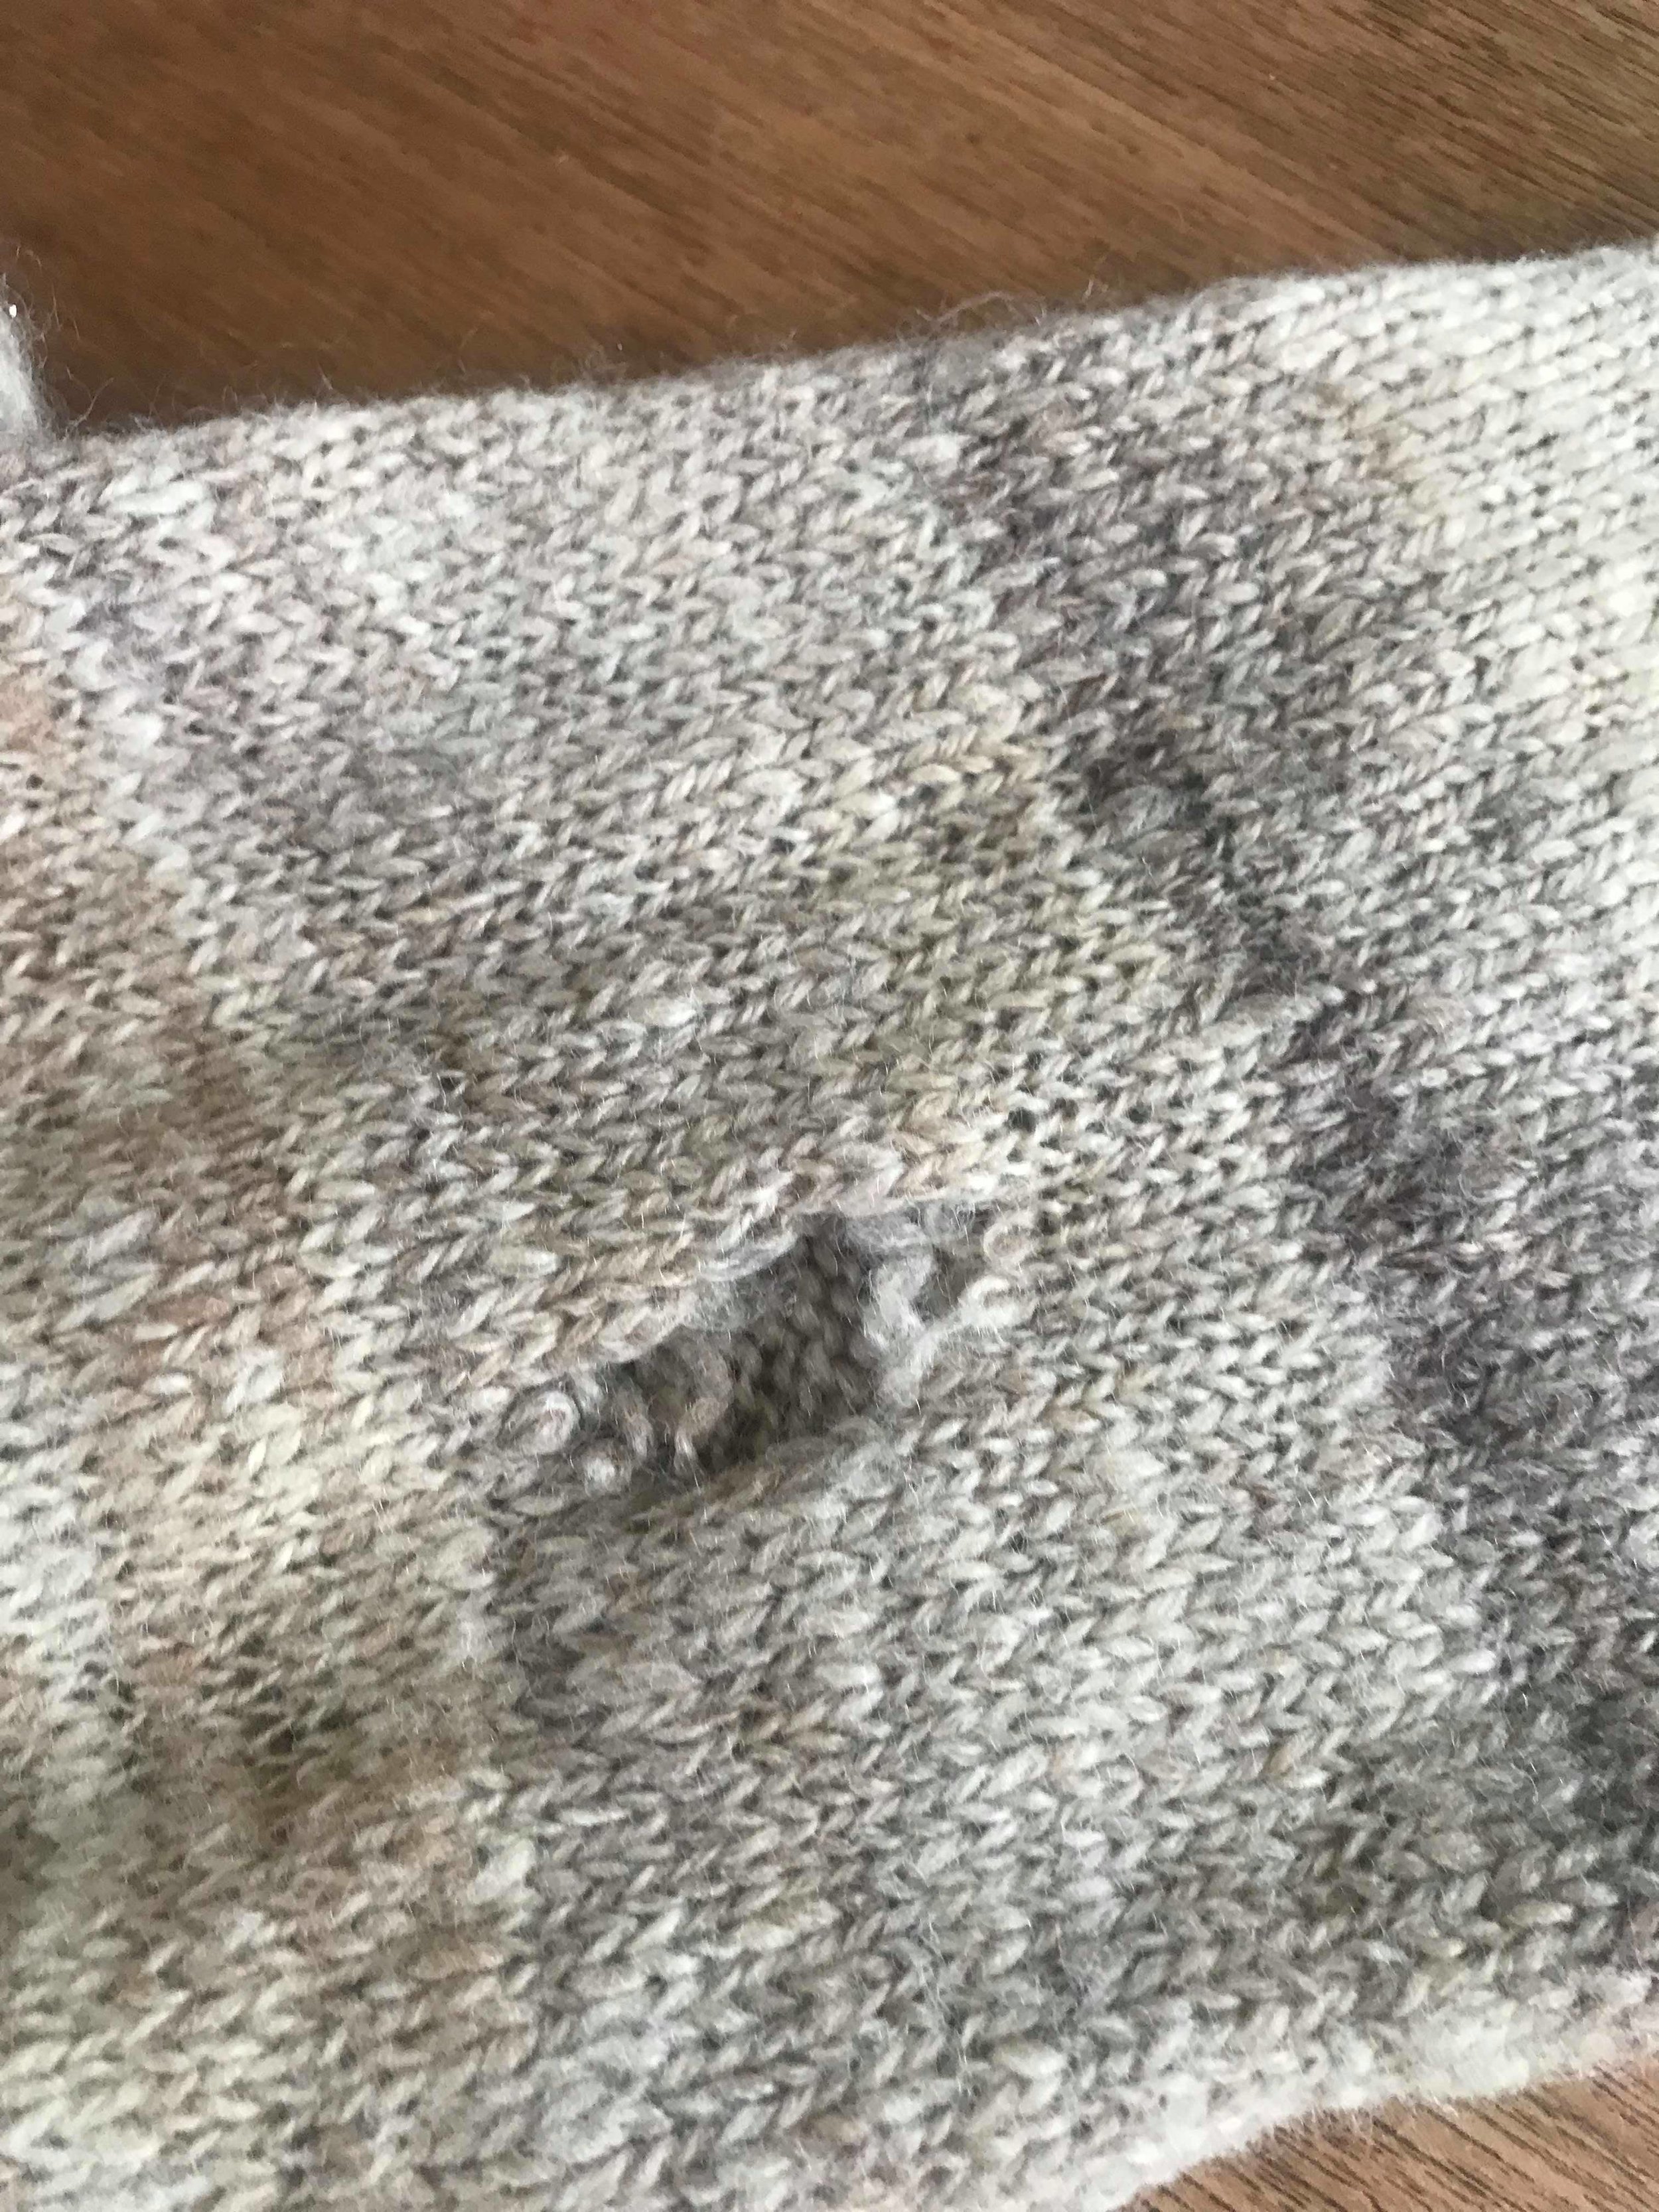
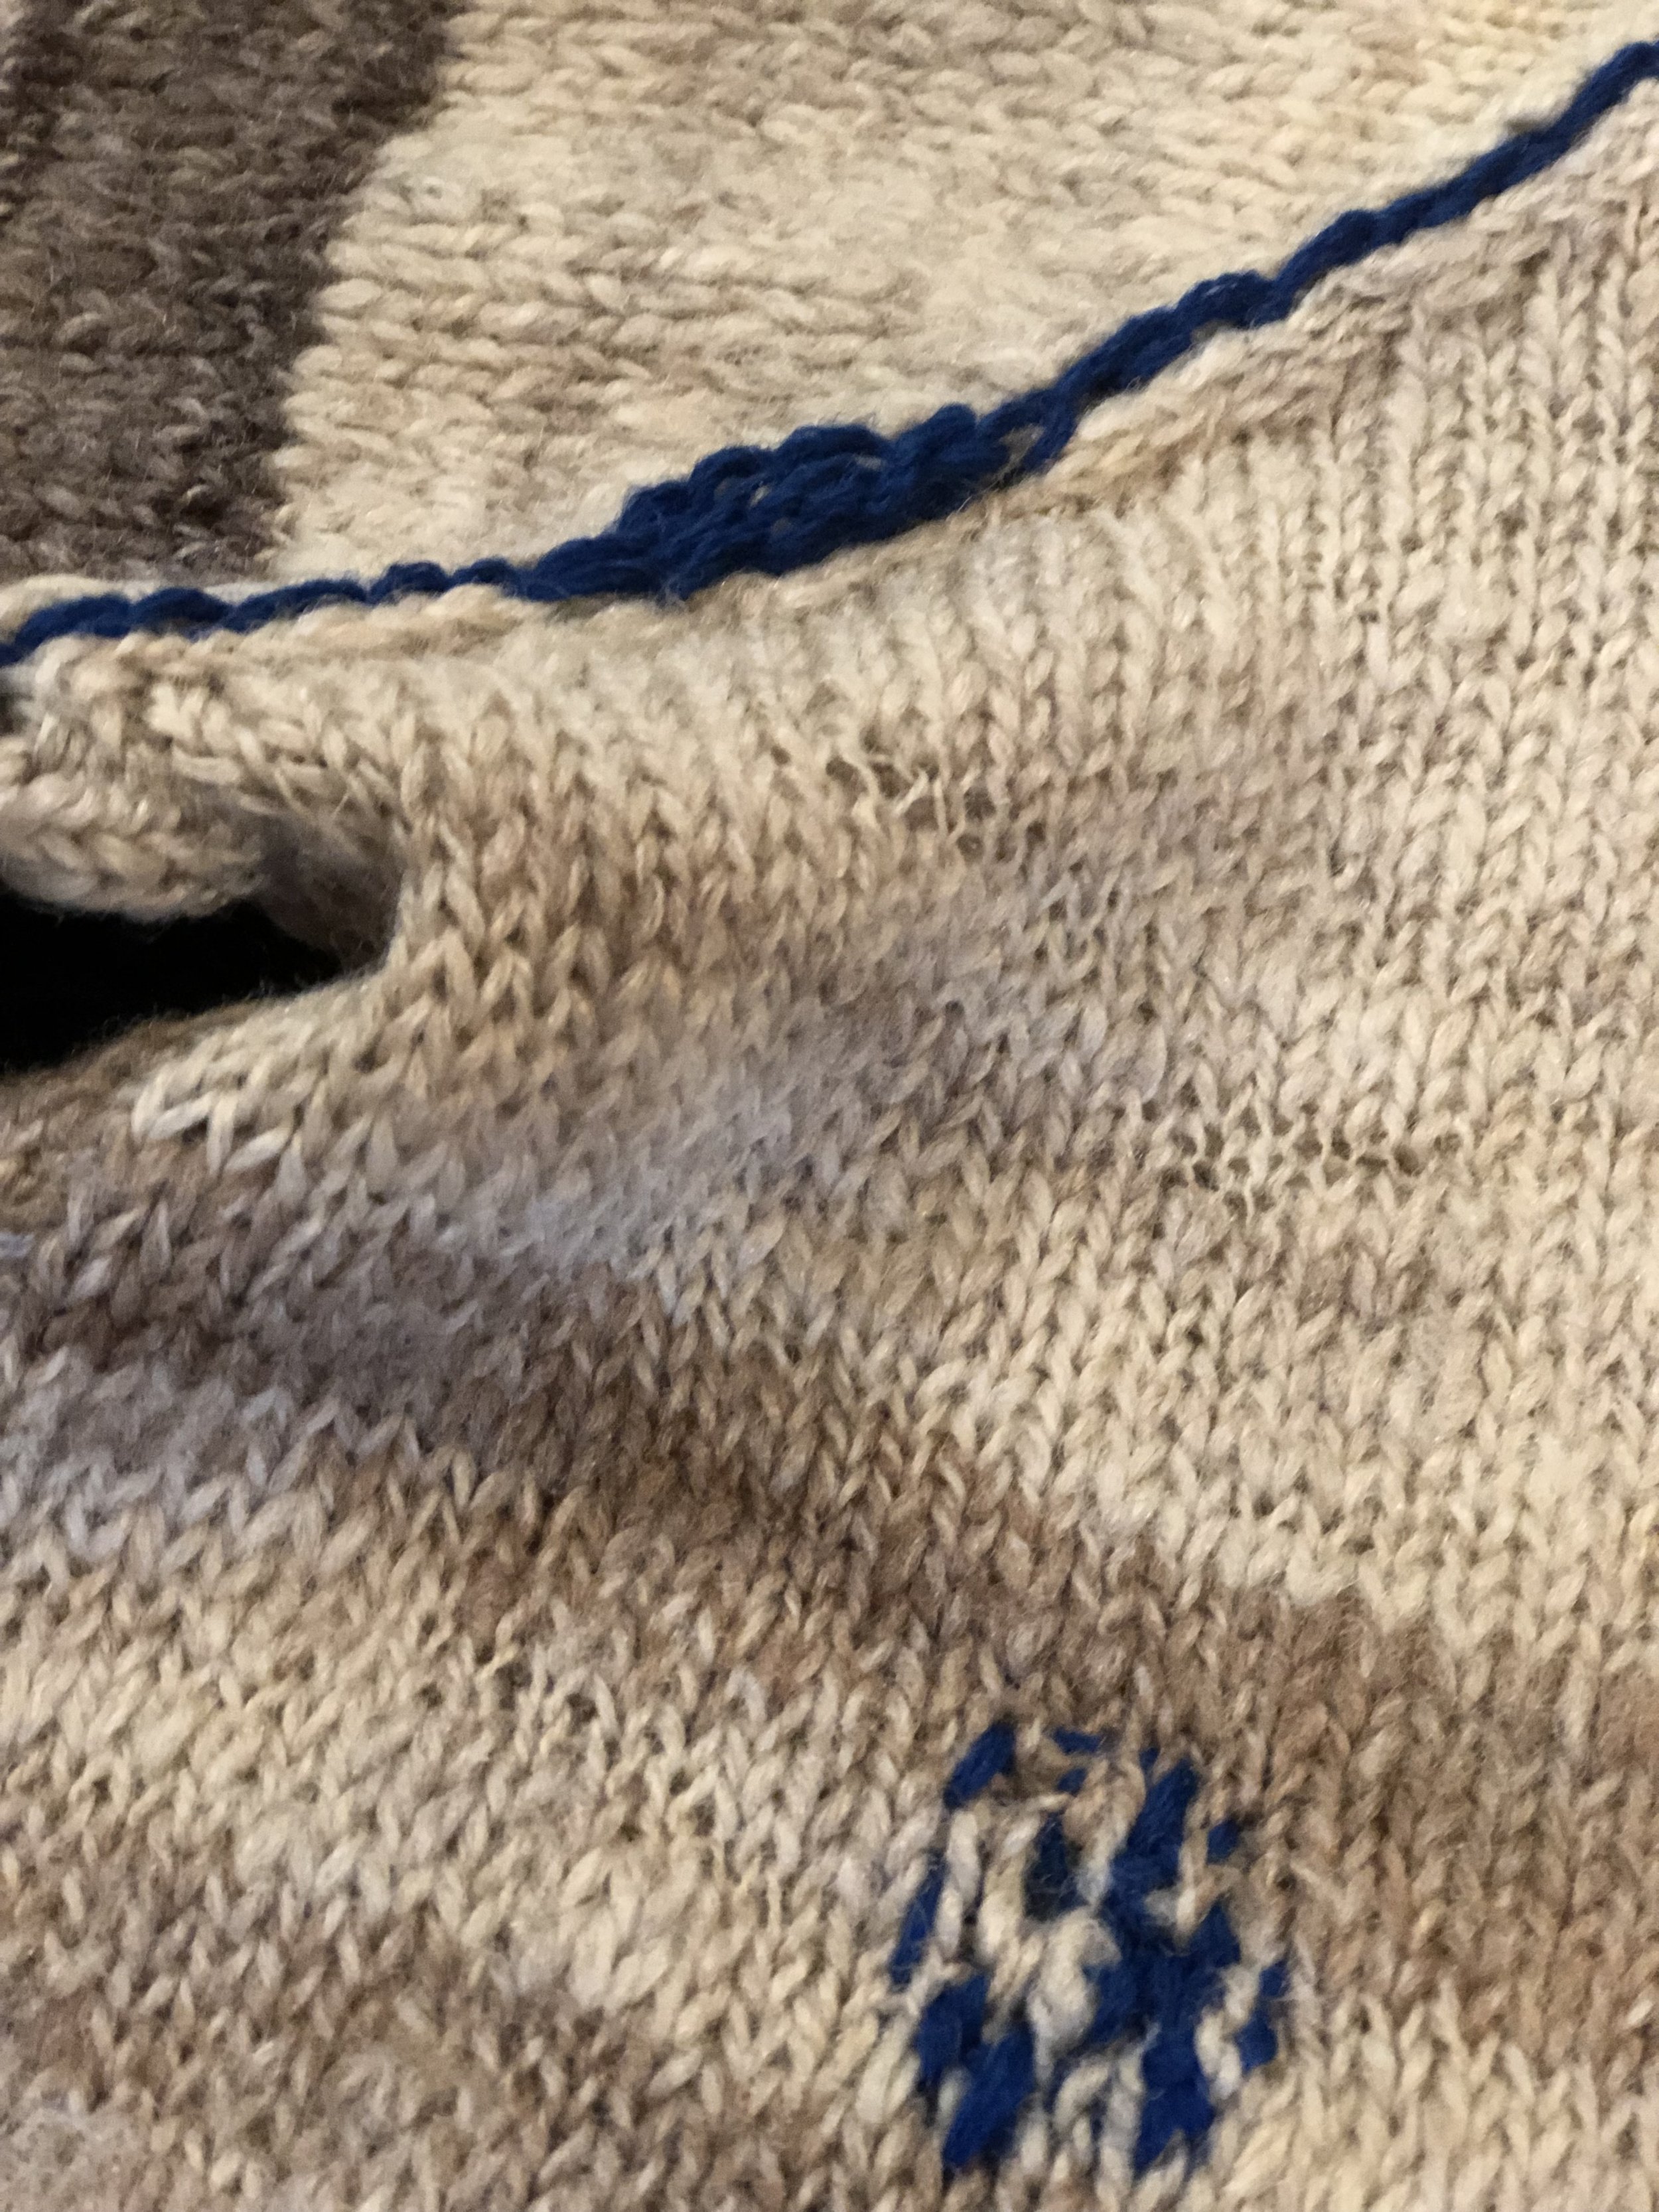
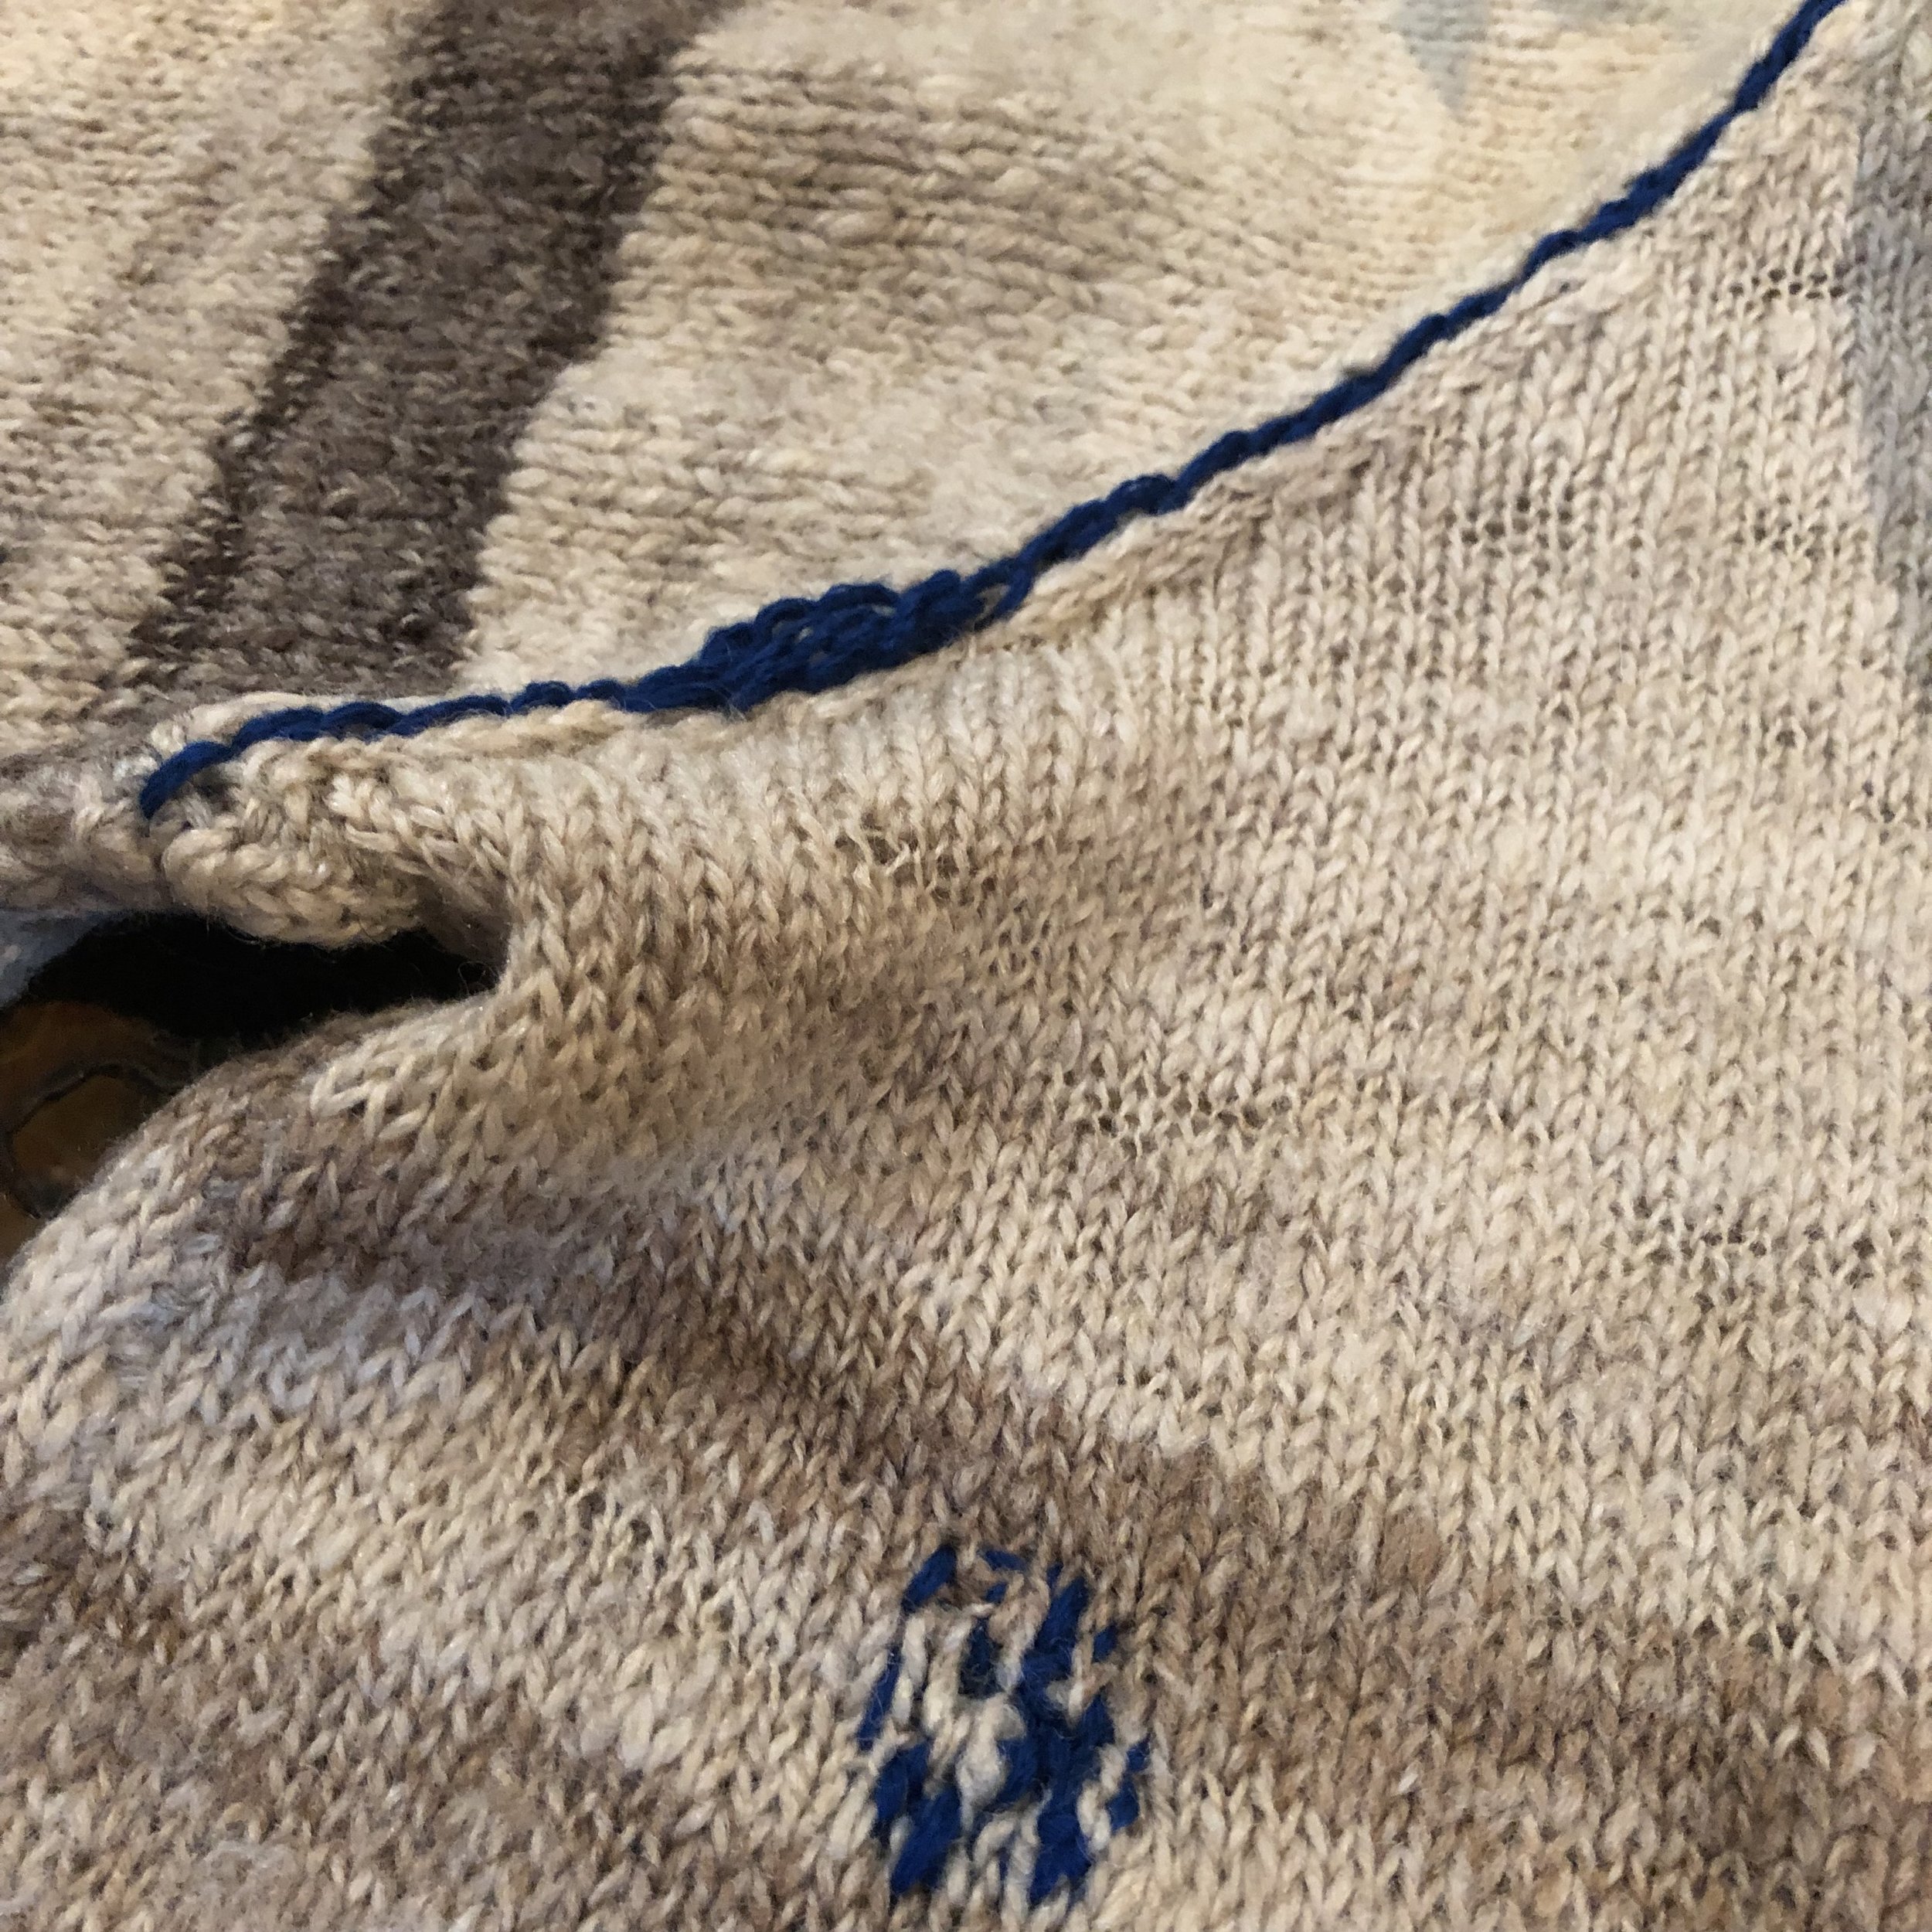
Then I darned about 4 other holes….
Then there was the big one! A massive elbow hole that really needed patching.
I took my knitting needle and picked about about 6 stitches from the bottom of the hole and knitted them. Then I cast on extra stitches to expand the knitting every second row. To create a stocking stitch knit patch that is actually attached to the body of the jumper.
Once I had knitted a patch big enough to cover the hole, I simply sewed it onto the edges of the hole. Whilst it is not a perfect fit for the hole, there is a little bunching, I think once it’s on, you wont even notice it.


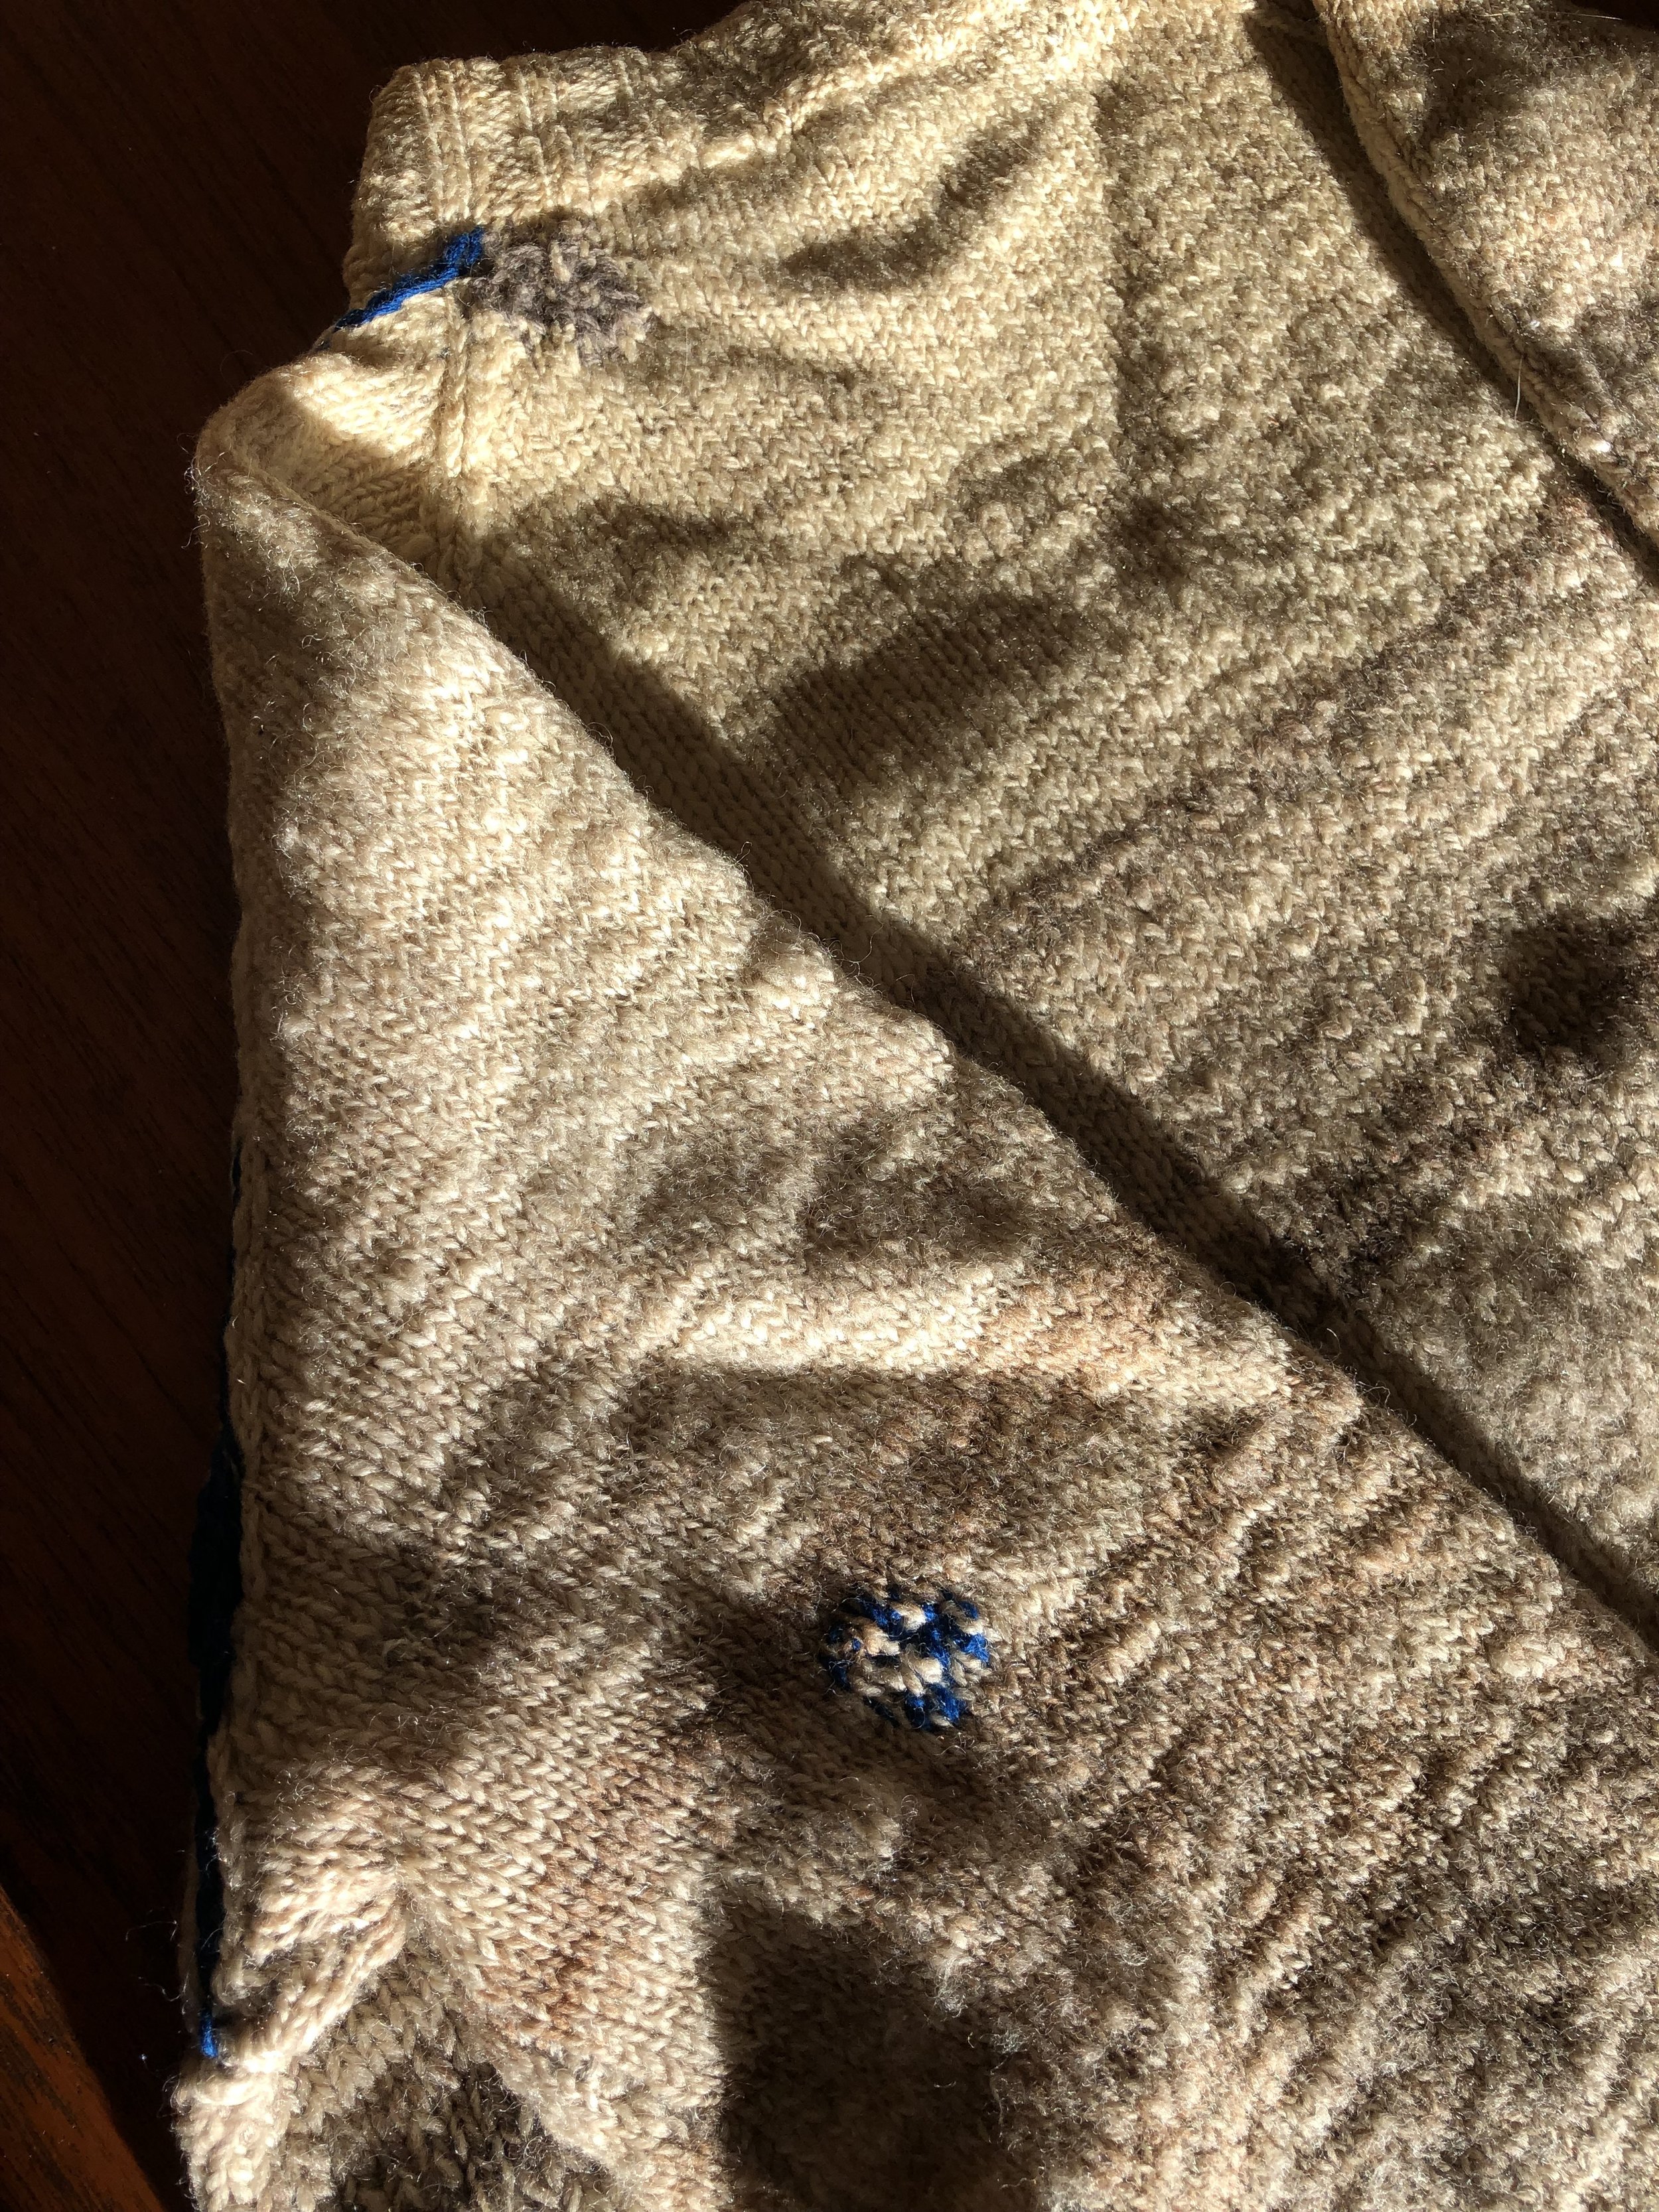
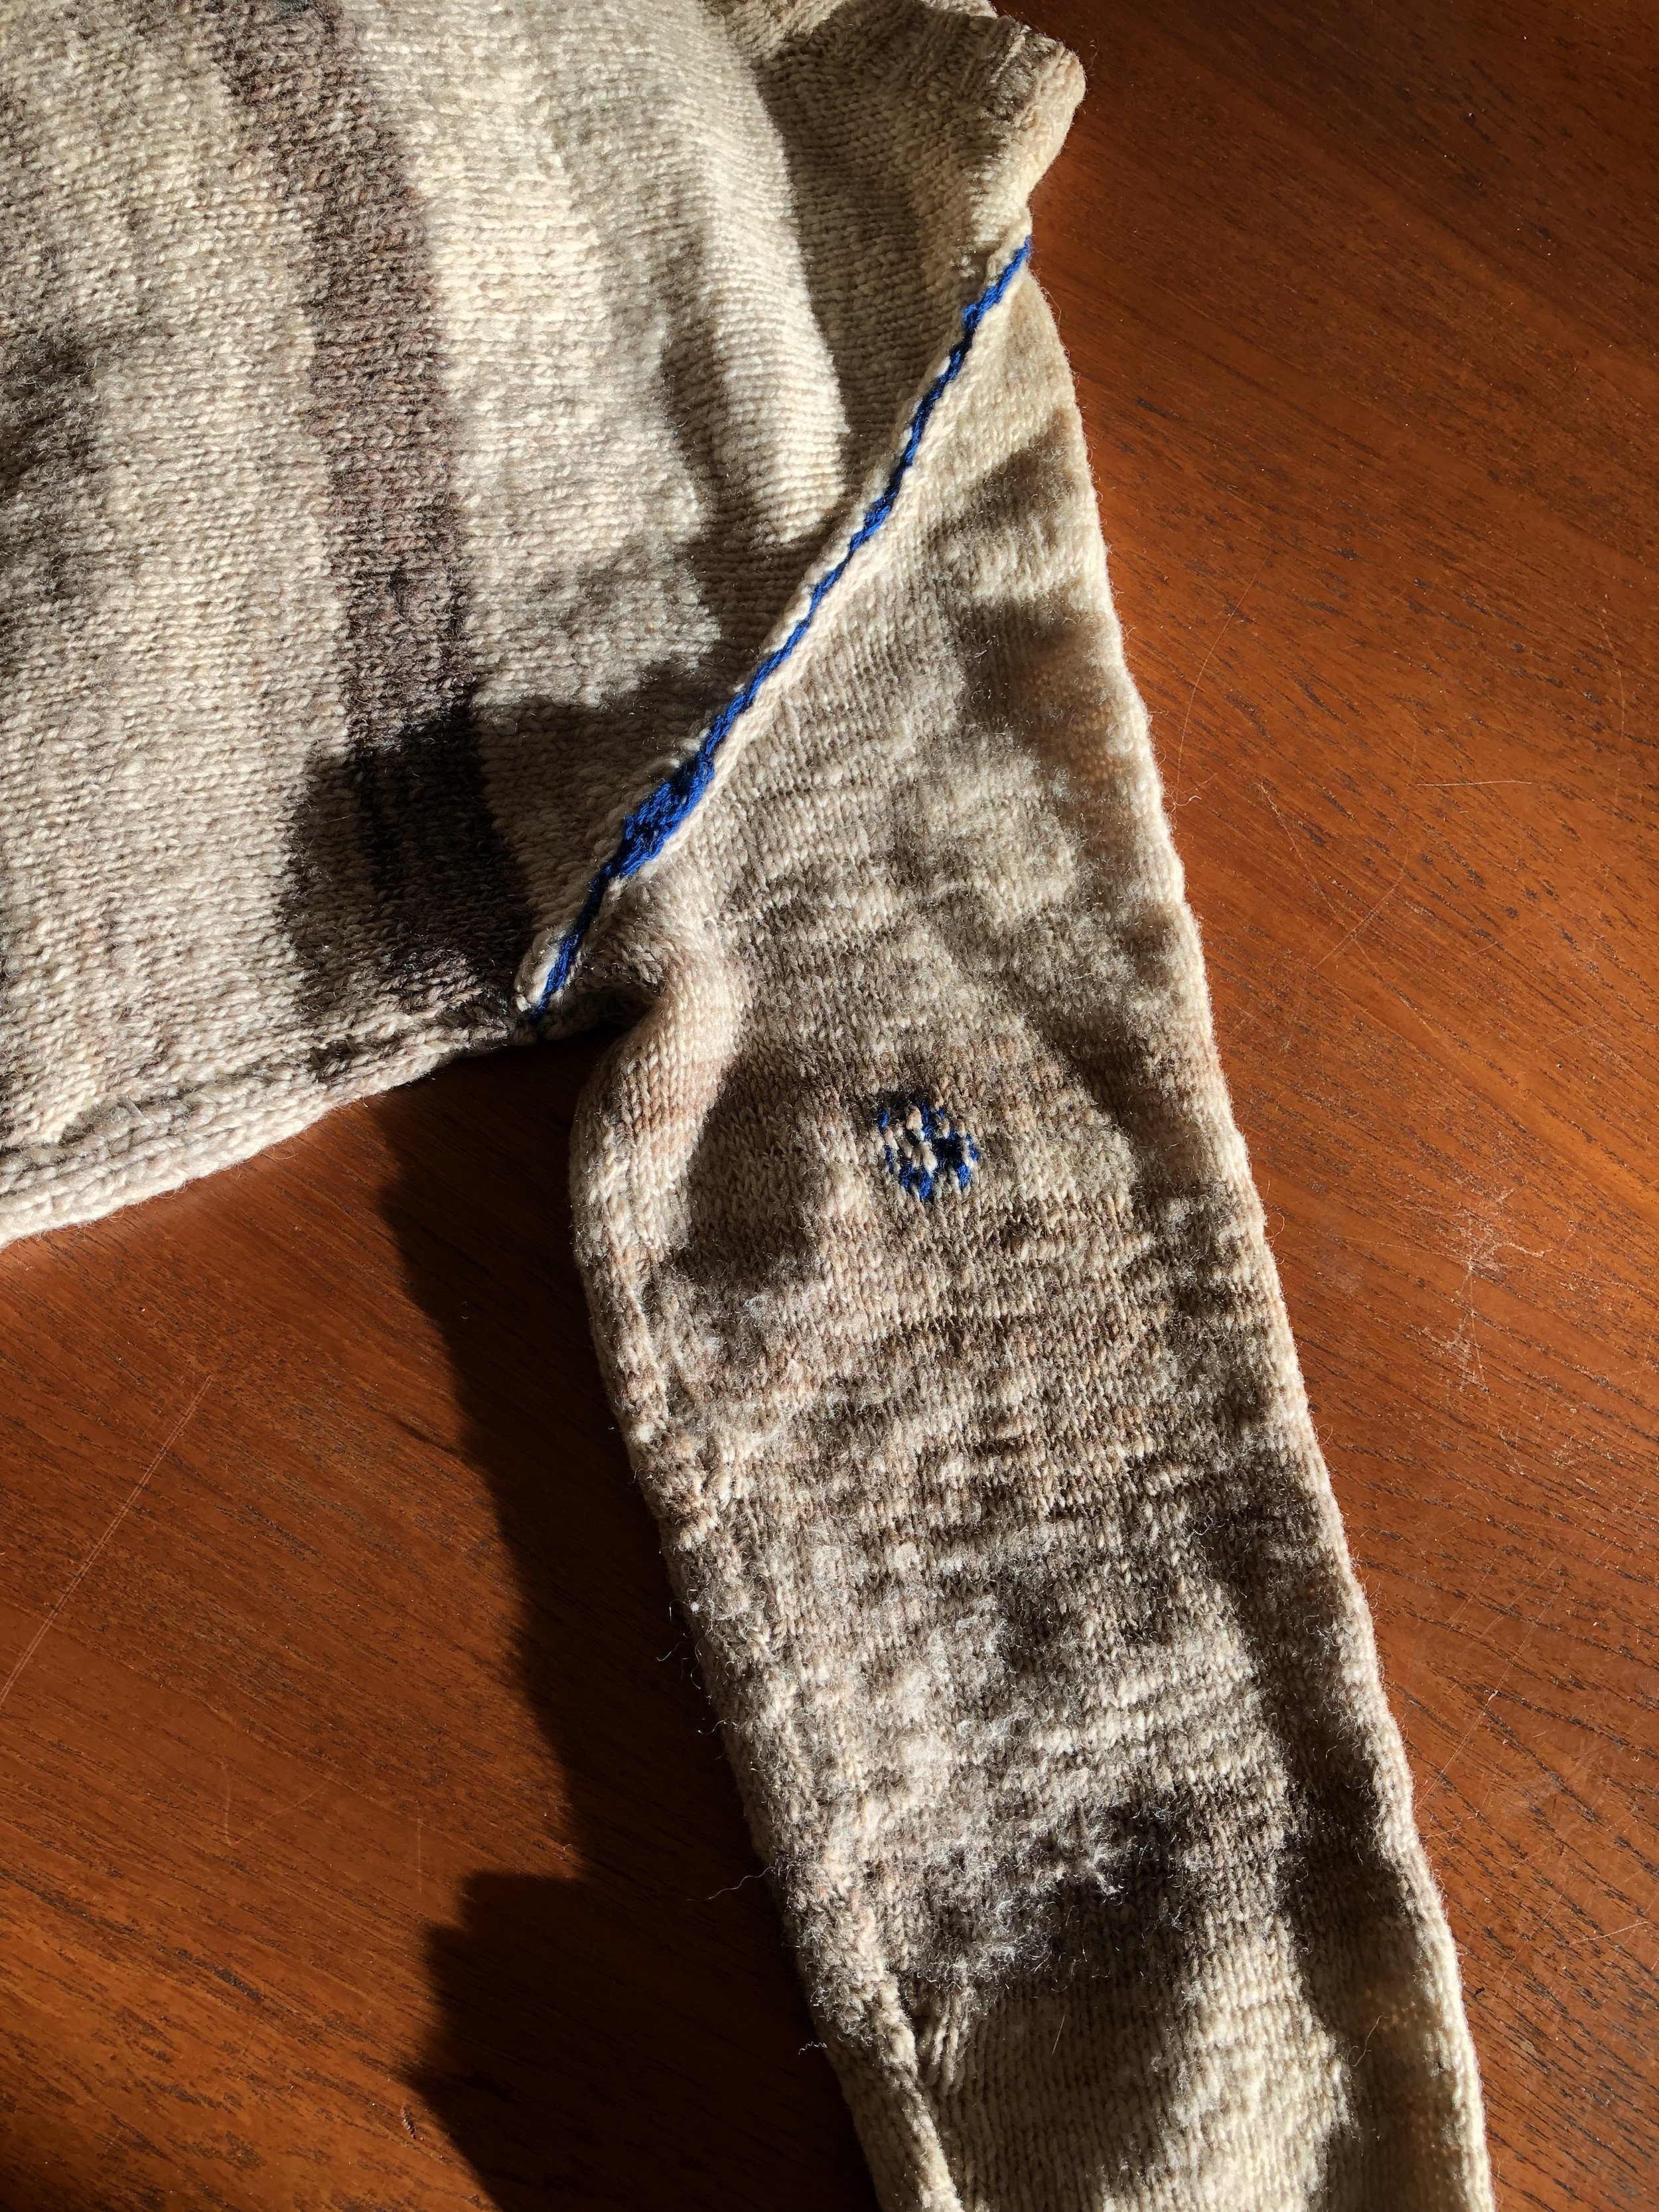
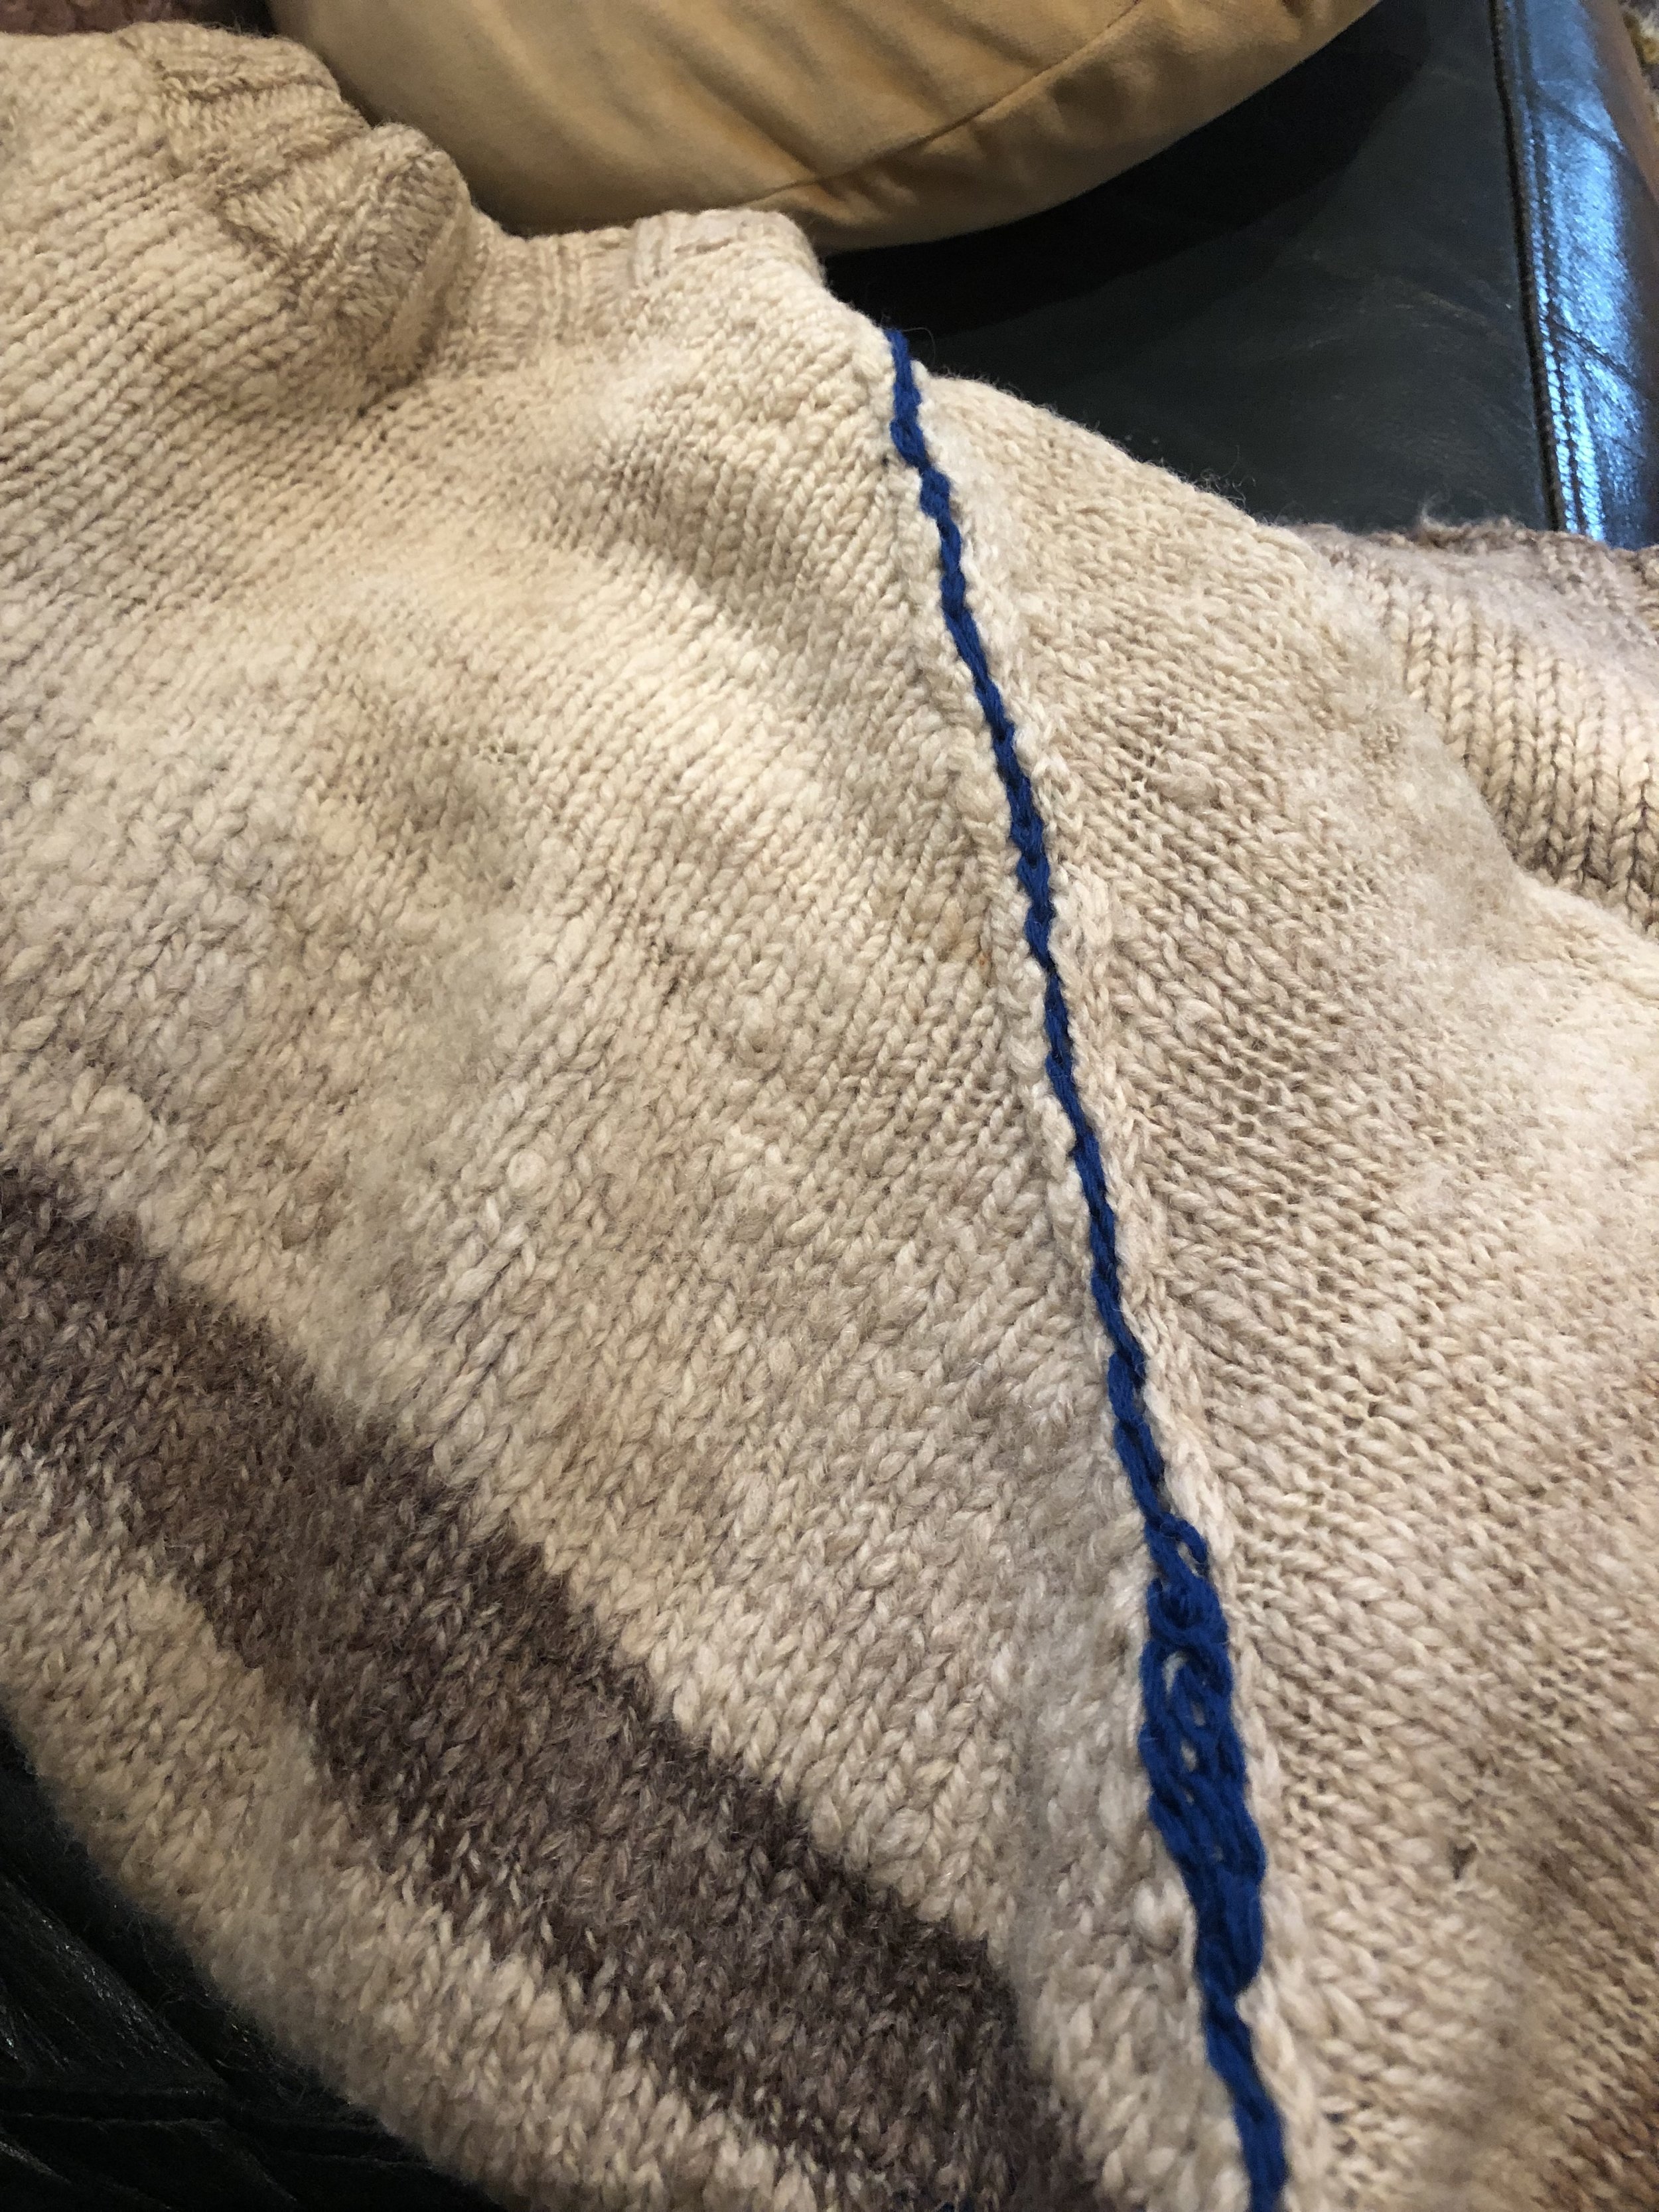
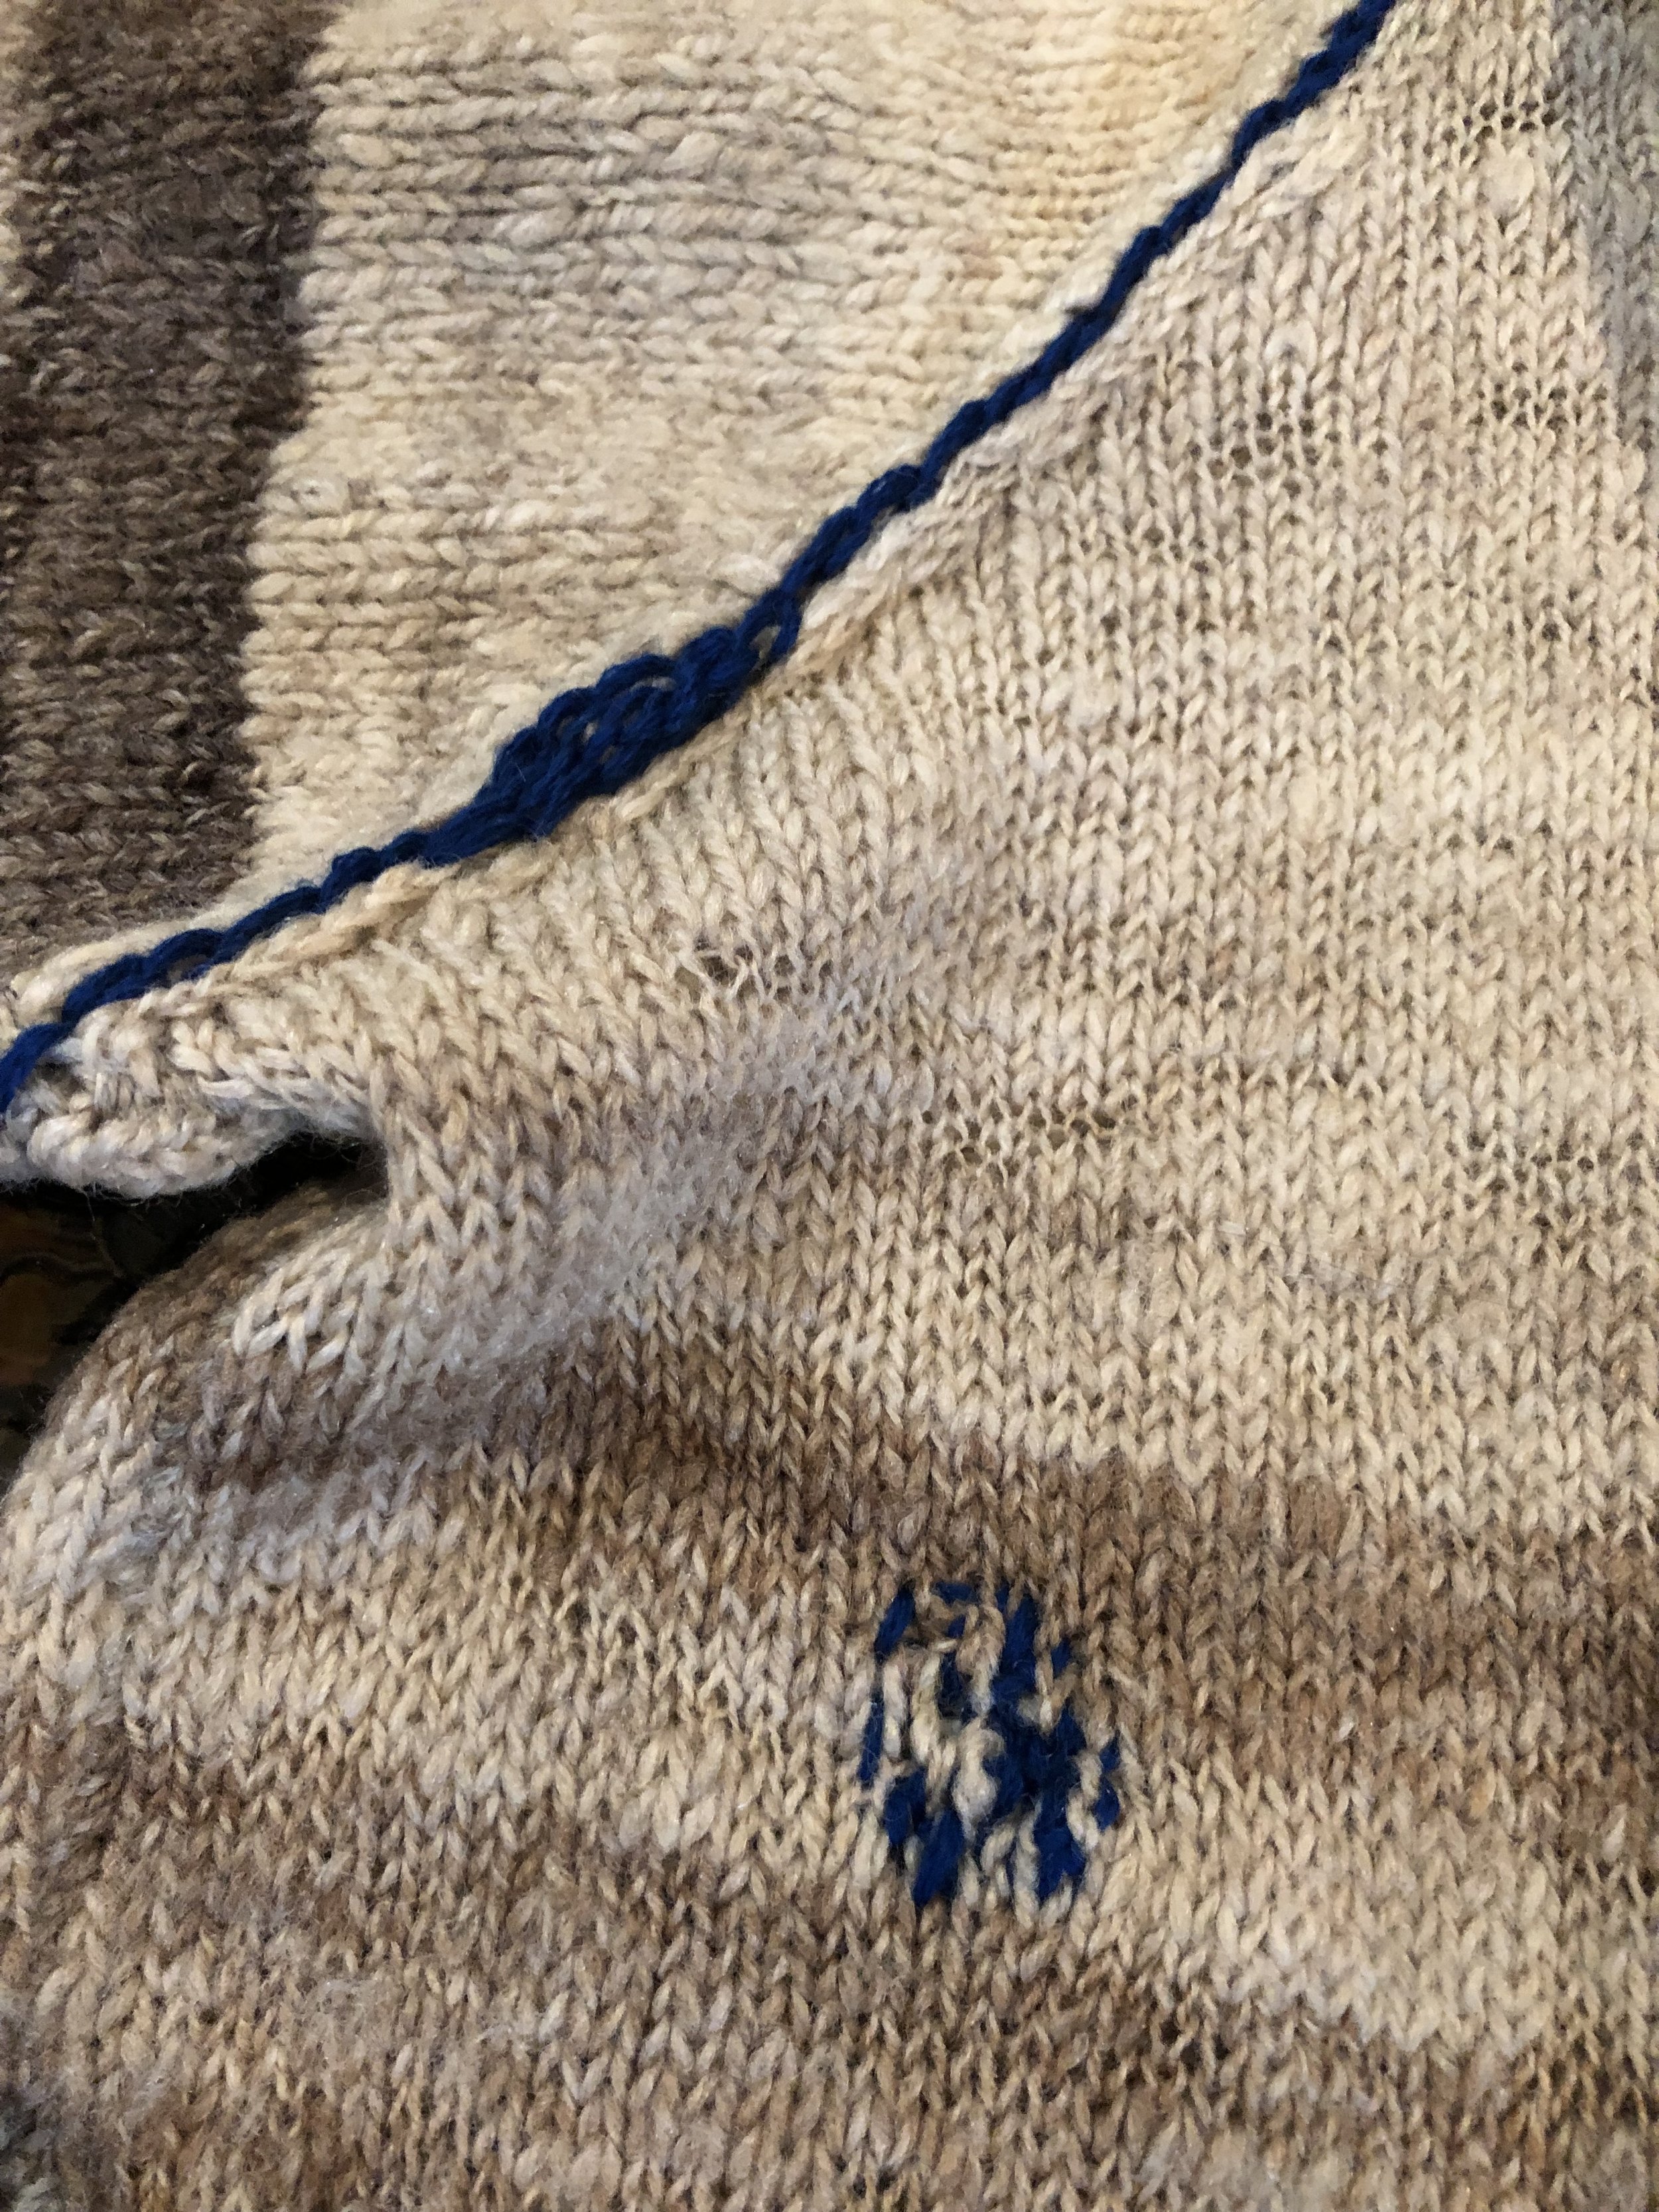
The next area to cover was the Kintsugi element of the repair.
There was a small hole in the front of the left arm (bicep level - I guess from lugging boxes of wine!) and the existing seam at the sleeve and neck seemed extremely fragile.
So I darned the obvious front hole with the lovely blue yarn. I then used this blue yarn to re-enforce and in fact create a feature of this front left seam by over sewing using the same blue merino yarn. It’ looked pretty good I thought.
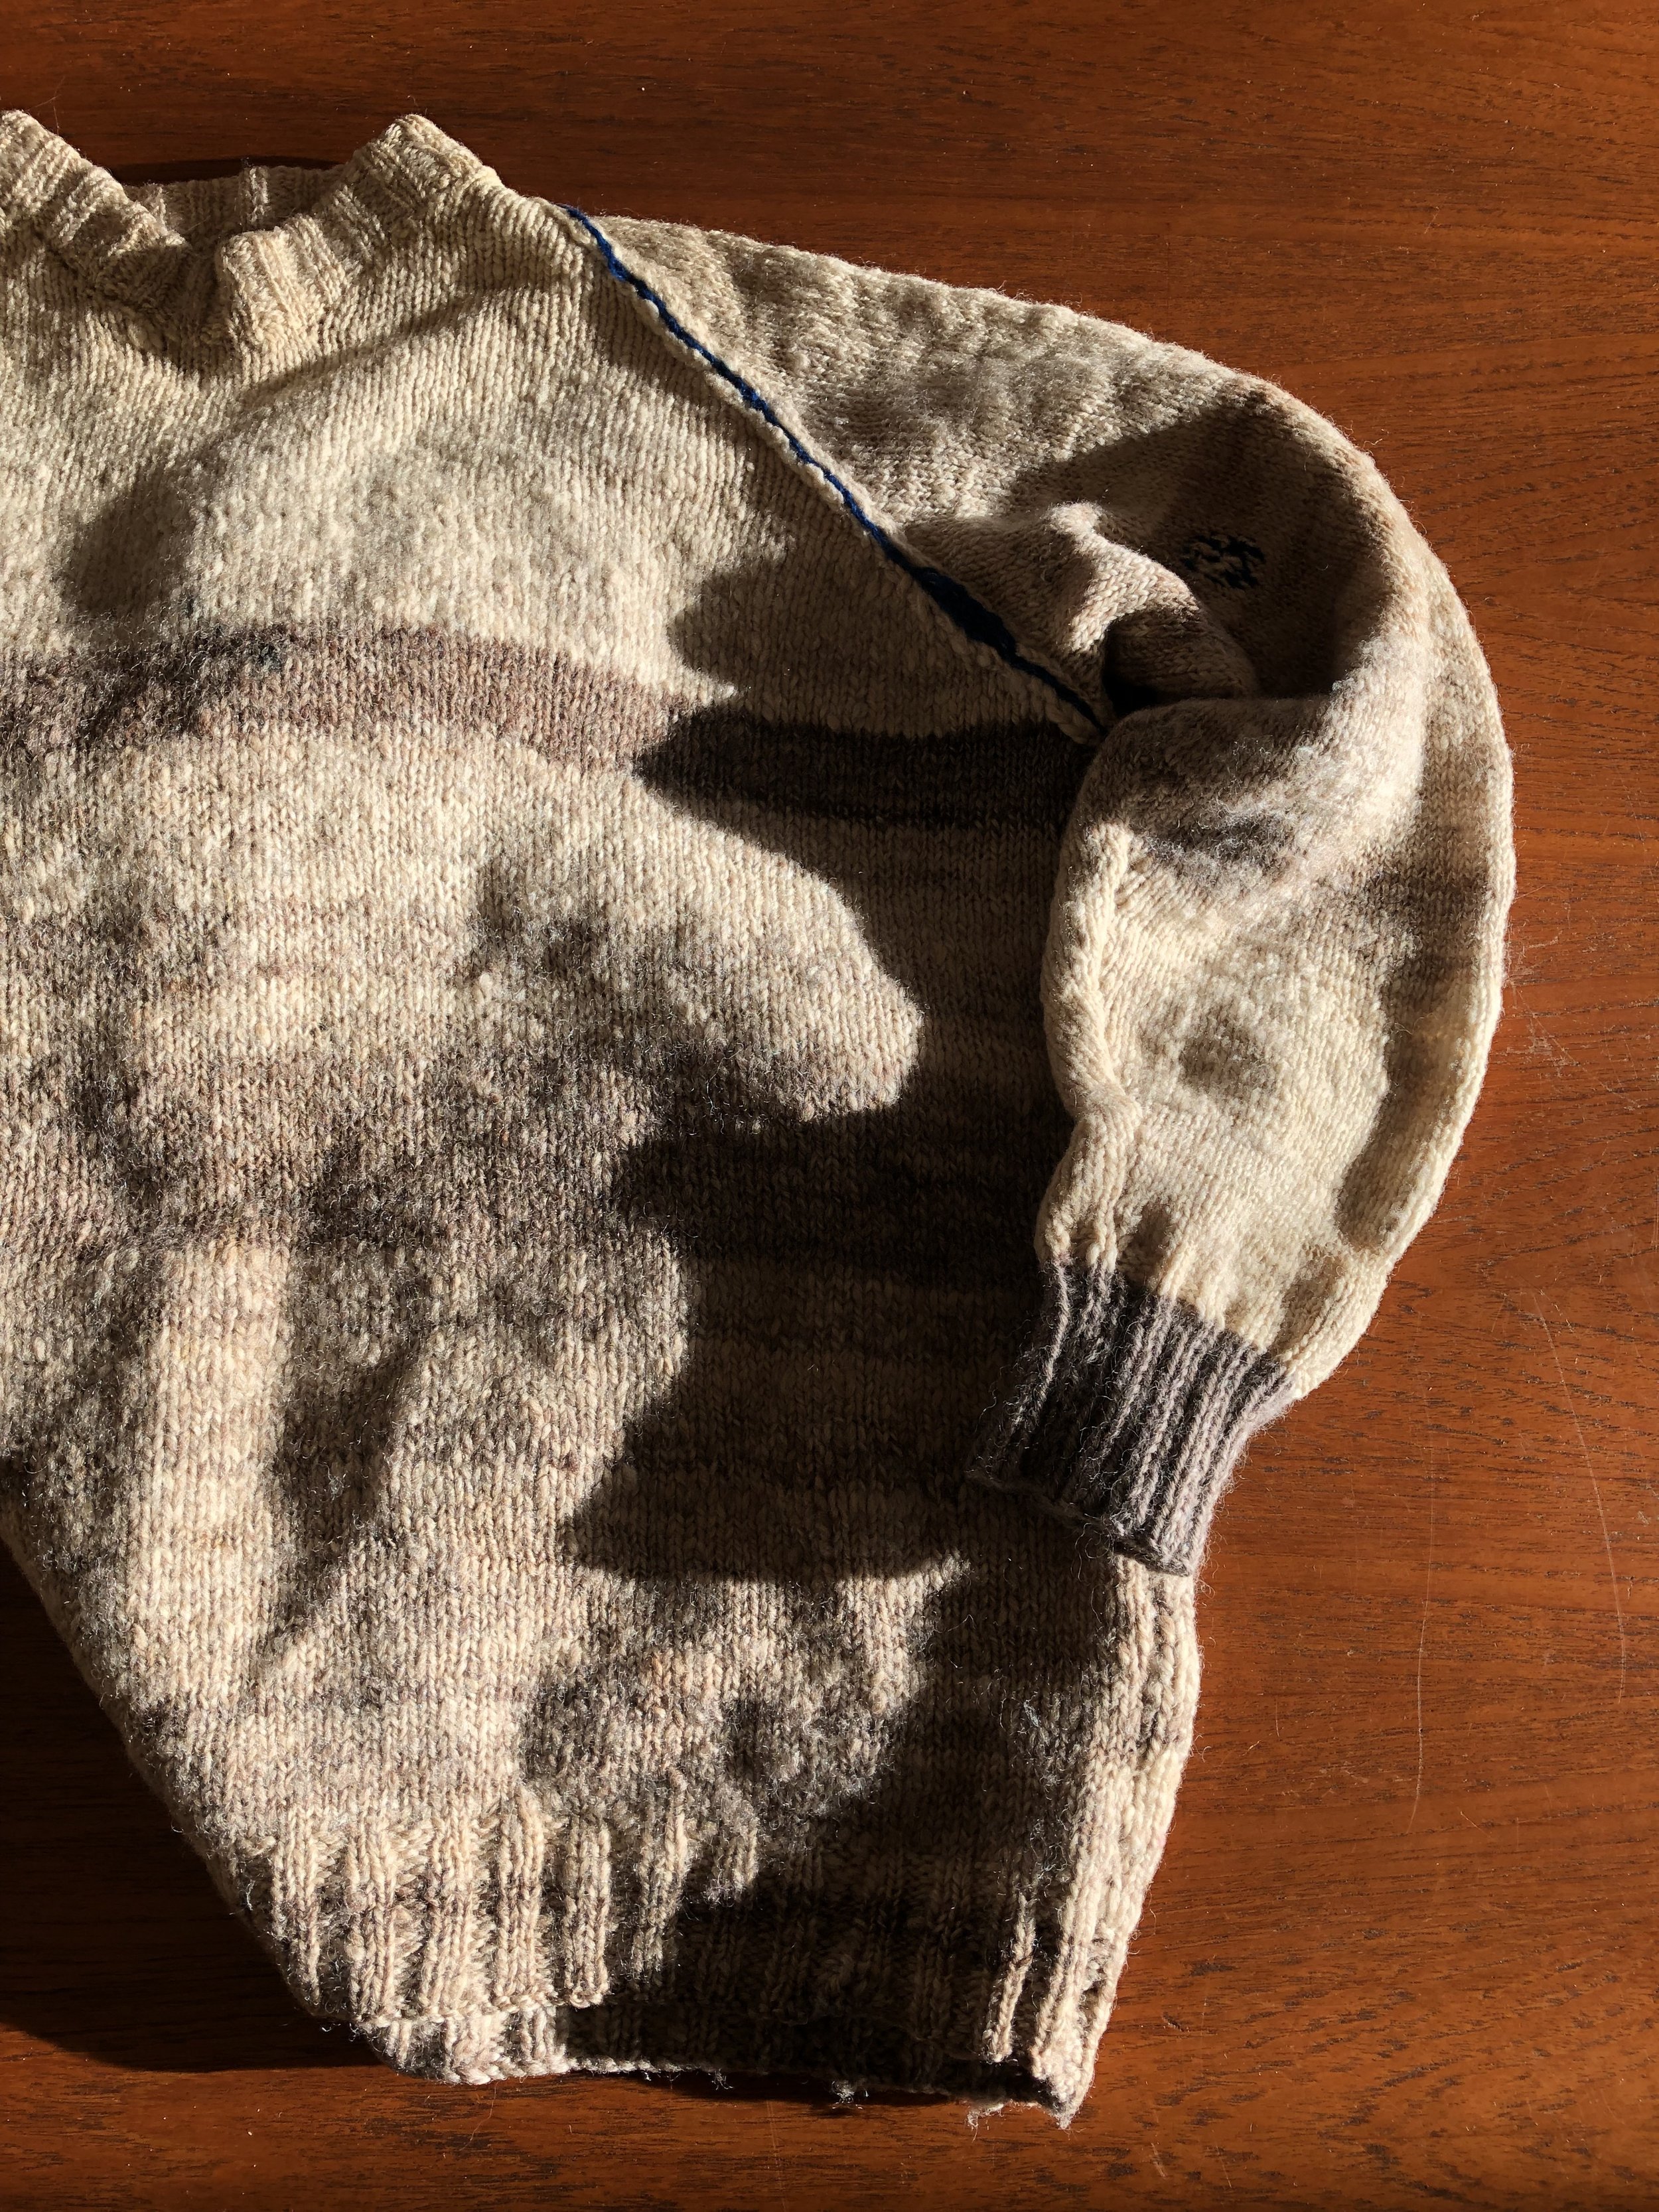
Then I continued the darning process using the Tarndie yarn on the back of the neck/shoulder seam.
The hem of the jumper was also worn ragged, however I didn’t want to totally replace this rib edging. I used the Tarndie yarn to carefully stitch the most obvious pulls and damage of the band, but I think it still retains it’s well loved character.


After sewing in the loose ends we have a beautiful reinvigorated and redesigned hand knit 100% wool jumper.
Made with love.